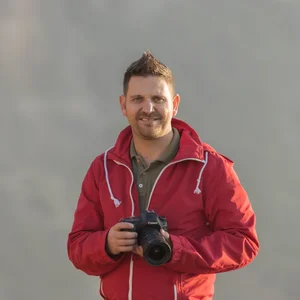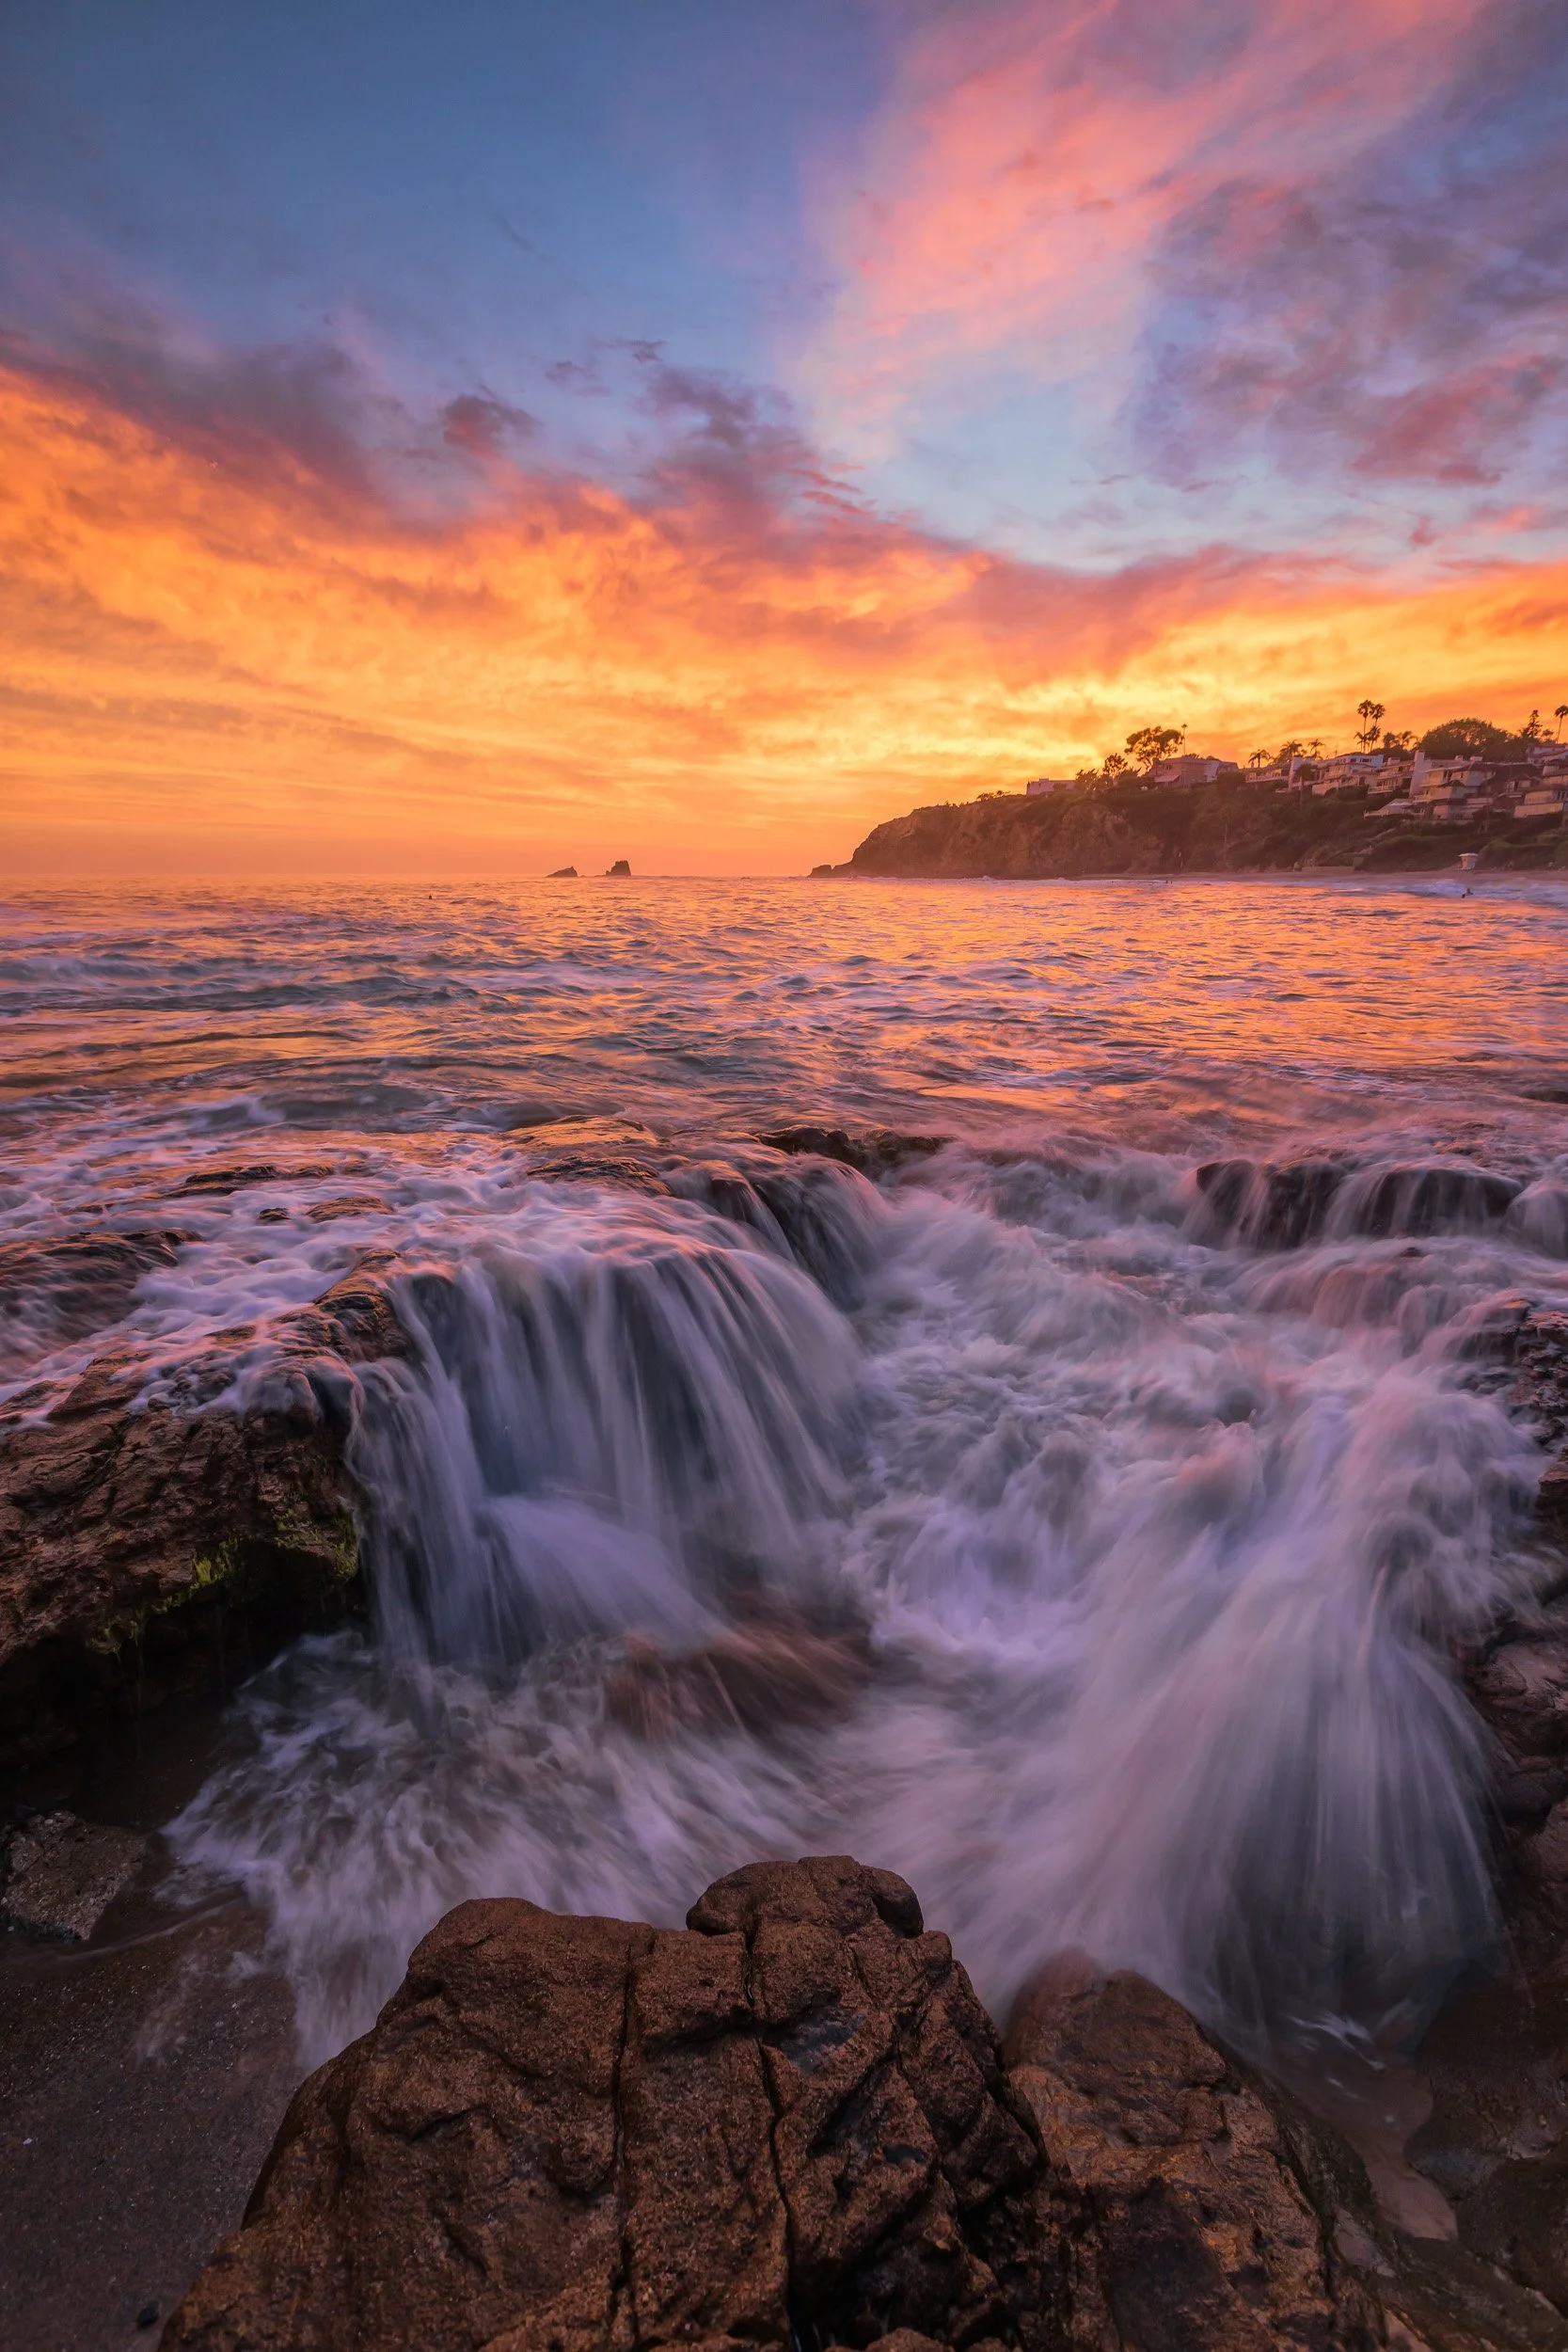
If there is one environment that exposes weak gear and poor field habits faster than any other, it’s the Southern California coast. Between salt spray misting your front element, fine sand jamming up tripod leg locks, and rogue waves testing your balance on wet rocks, ocean shooting is brutal on camera equipment.
When I see photographers heading down to the tide pools or beach with a massive 30-pound haul bag full of specialty gadgets, I know two things are about to happen: they are going to get fatigued, and they are going to spend more time fumbling with gear than watching the waves. The polar opposite is the photographer with just a camera strapped around their neck and nothing to support their shoot—they are going to struggle because they can't slow down their shutter speed to capture water motion in an interesting way.
You don't need a mountain of equipment to capture world-class seascape images. You just need a streamlined, salt-resistant kit and a smart workflow. Here is the exact setup I carry into the surf—and what you can leave safely at home.
The Core Optics: One or Two Lenses Max
When you're standing in crashing surf, the last thing you want to do is swap lenses and expose your camera’s sensor to salty air and sea spray.
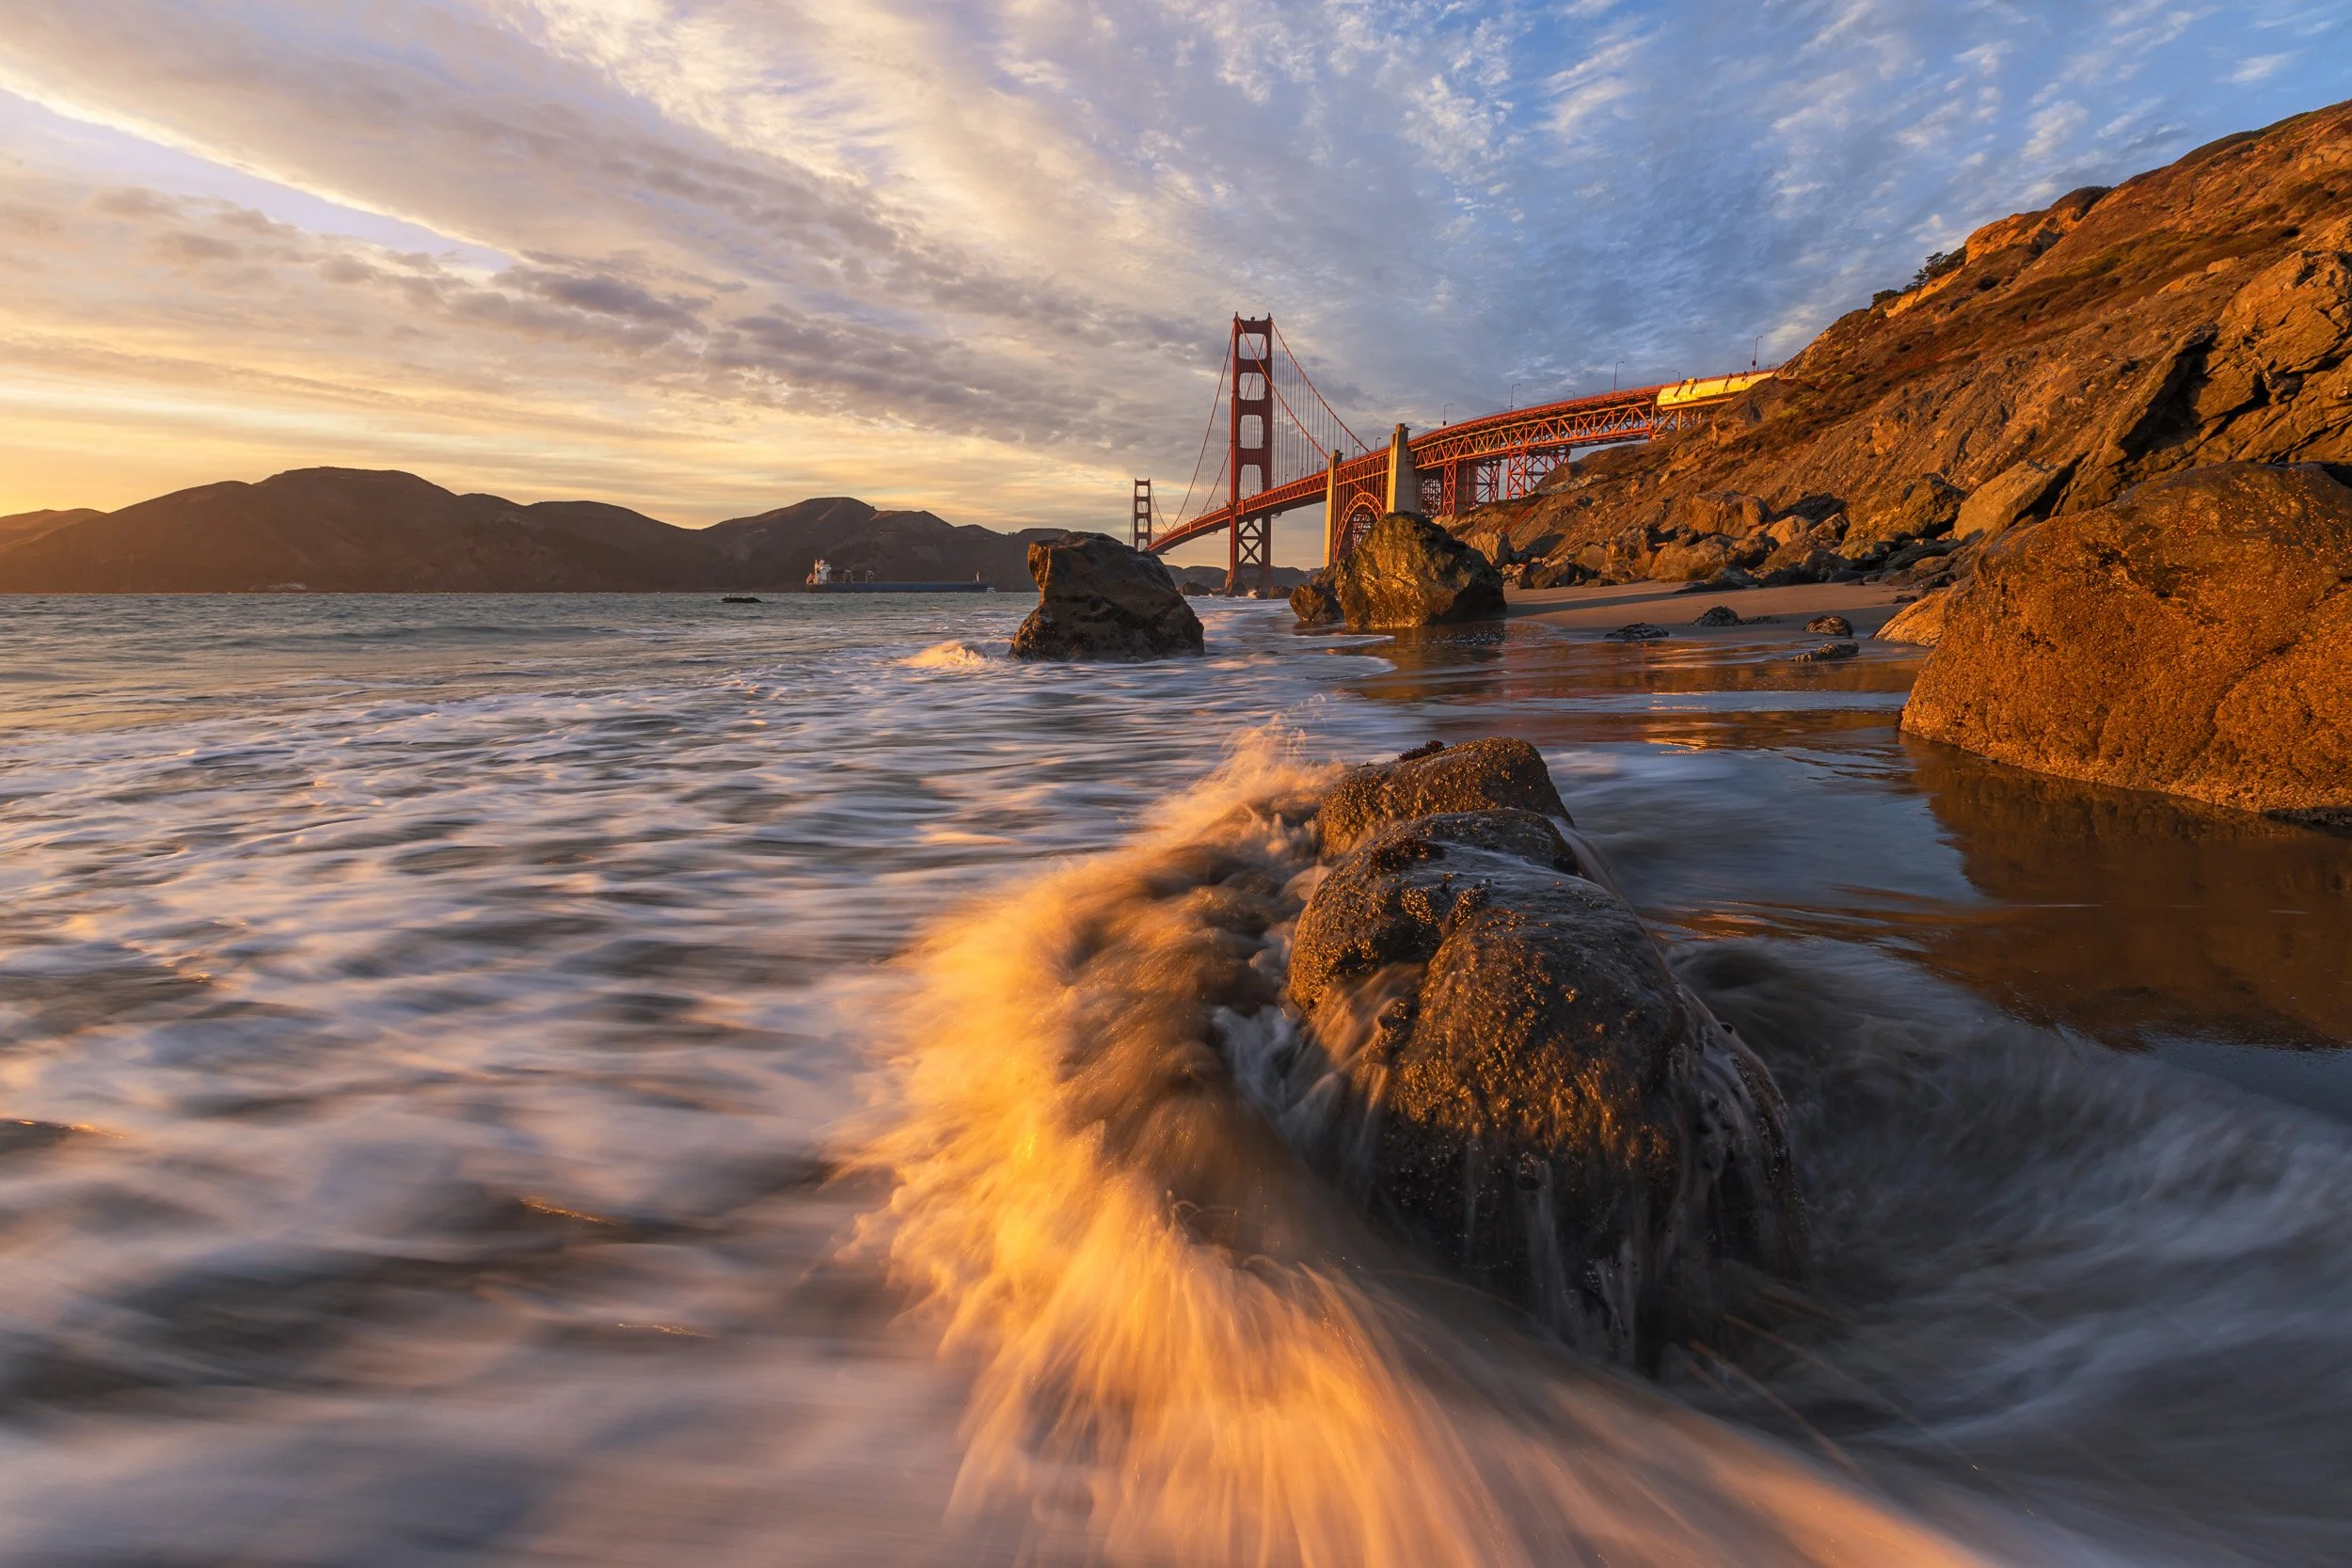
The Wide-Angle Workhorse (16-35mm or 14-24mm): This is your main event lens for seascapes. It allows you to get down low near tide pools, leading-line rock formations, and approaching or receding water rushing over sand and rocks to create dynamic, immersive foregrounds.
The Mid-Range Zoom (24-70mm): Perfect for isolating offshore rock formations, capturing tight compression on crashing pier pilings, or shooting coastal bluffs from a safer distance when the swell is too dangerous to get close.
Pro Tip: Pick one lens before you step onto the sand and stick with it for the session, or keep your lens changes strictly to the dry upper beach away from the wind and sea spray zone.
Support: A Tripod That Can Survive the Elements
Your tripod is the single most critical piece of safety equipment you own for seascape photography. If your support slips on an algae-covered rock or sinks unevenly into wet sand during a long exposure, your shot (and your camera) is done.
Carbon Fiber over Aluminum: Aluminum tripods will corrode and seize up quickly when exposed to salt water. Carbon fiber is lighter, stiffer in coastal winds, and handles ocean environments far better.
Twist Locks vs. Lever Locks: Twist locks are generally much easier to break down, rinse out, and service after sand gets into the threads.
Skip the Center Column: A center column adds unnecessary height wobble in ocean winds. Lower your tripod legs wide and sturdy instead. I never use a center column in nature; it’s best left for the studio or indoor environments.
Rubber Feet vs. Spikes: If your tripod comes with or has the ability to add spikes, I highly recommend them. Rubber feet are often slippery on wet rocks and don’t sink into sand as well as spikes. Rubber feet are great for indoor or concrete environments, but spikes are king in nature.
Weight Support: Make sure that your tripod and ball head both support your camera body and longest lens. My ball head and tripod legs support 2x my heaviest gear setup, which ensures that I’m supported no matter how windy or heavy the surf is around my camera.
The Filter Strategy: The Key to Success
Filters are essential for managing shutter speed and controlling glare, but over-complicating your filter rig in wet conditions will drive you crazy.
The Circular Polarizer (CPL): Non-negotiable for seascapes in the middle of the day or before golden hours. A CPL cuts the harsh glare off wet rocks, shallow tide pools, and damp sand, revealing deep color and contrast beneath the water's surface. Be careful when using a CPL shooting directly at the sun at sunset or sunrise as it may remove some of the rich colors of the sunset in the water. I never use a CPL shooting directly at the sun at sunset, but in mid-day light it can be a game changer to remove the glare on the water and anything wet. Be careful when using your widest focal lengths as they often create vignetting when using a CPL.
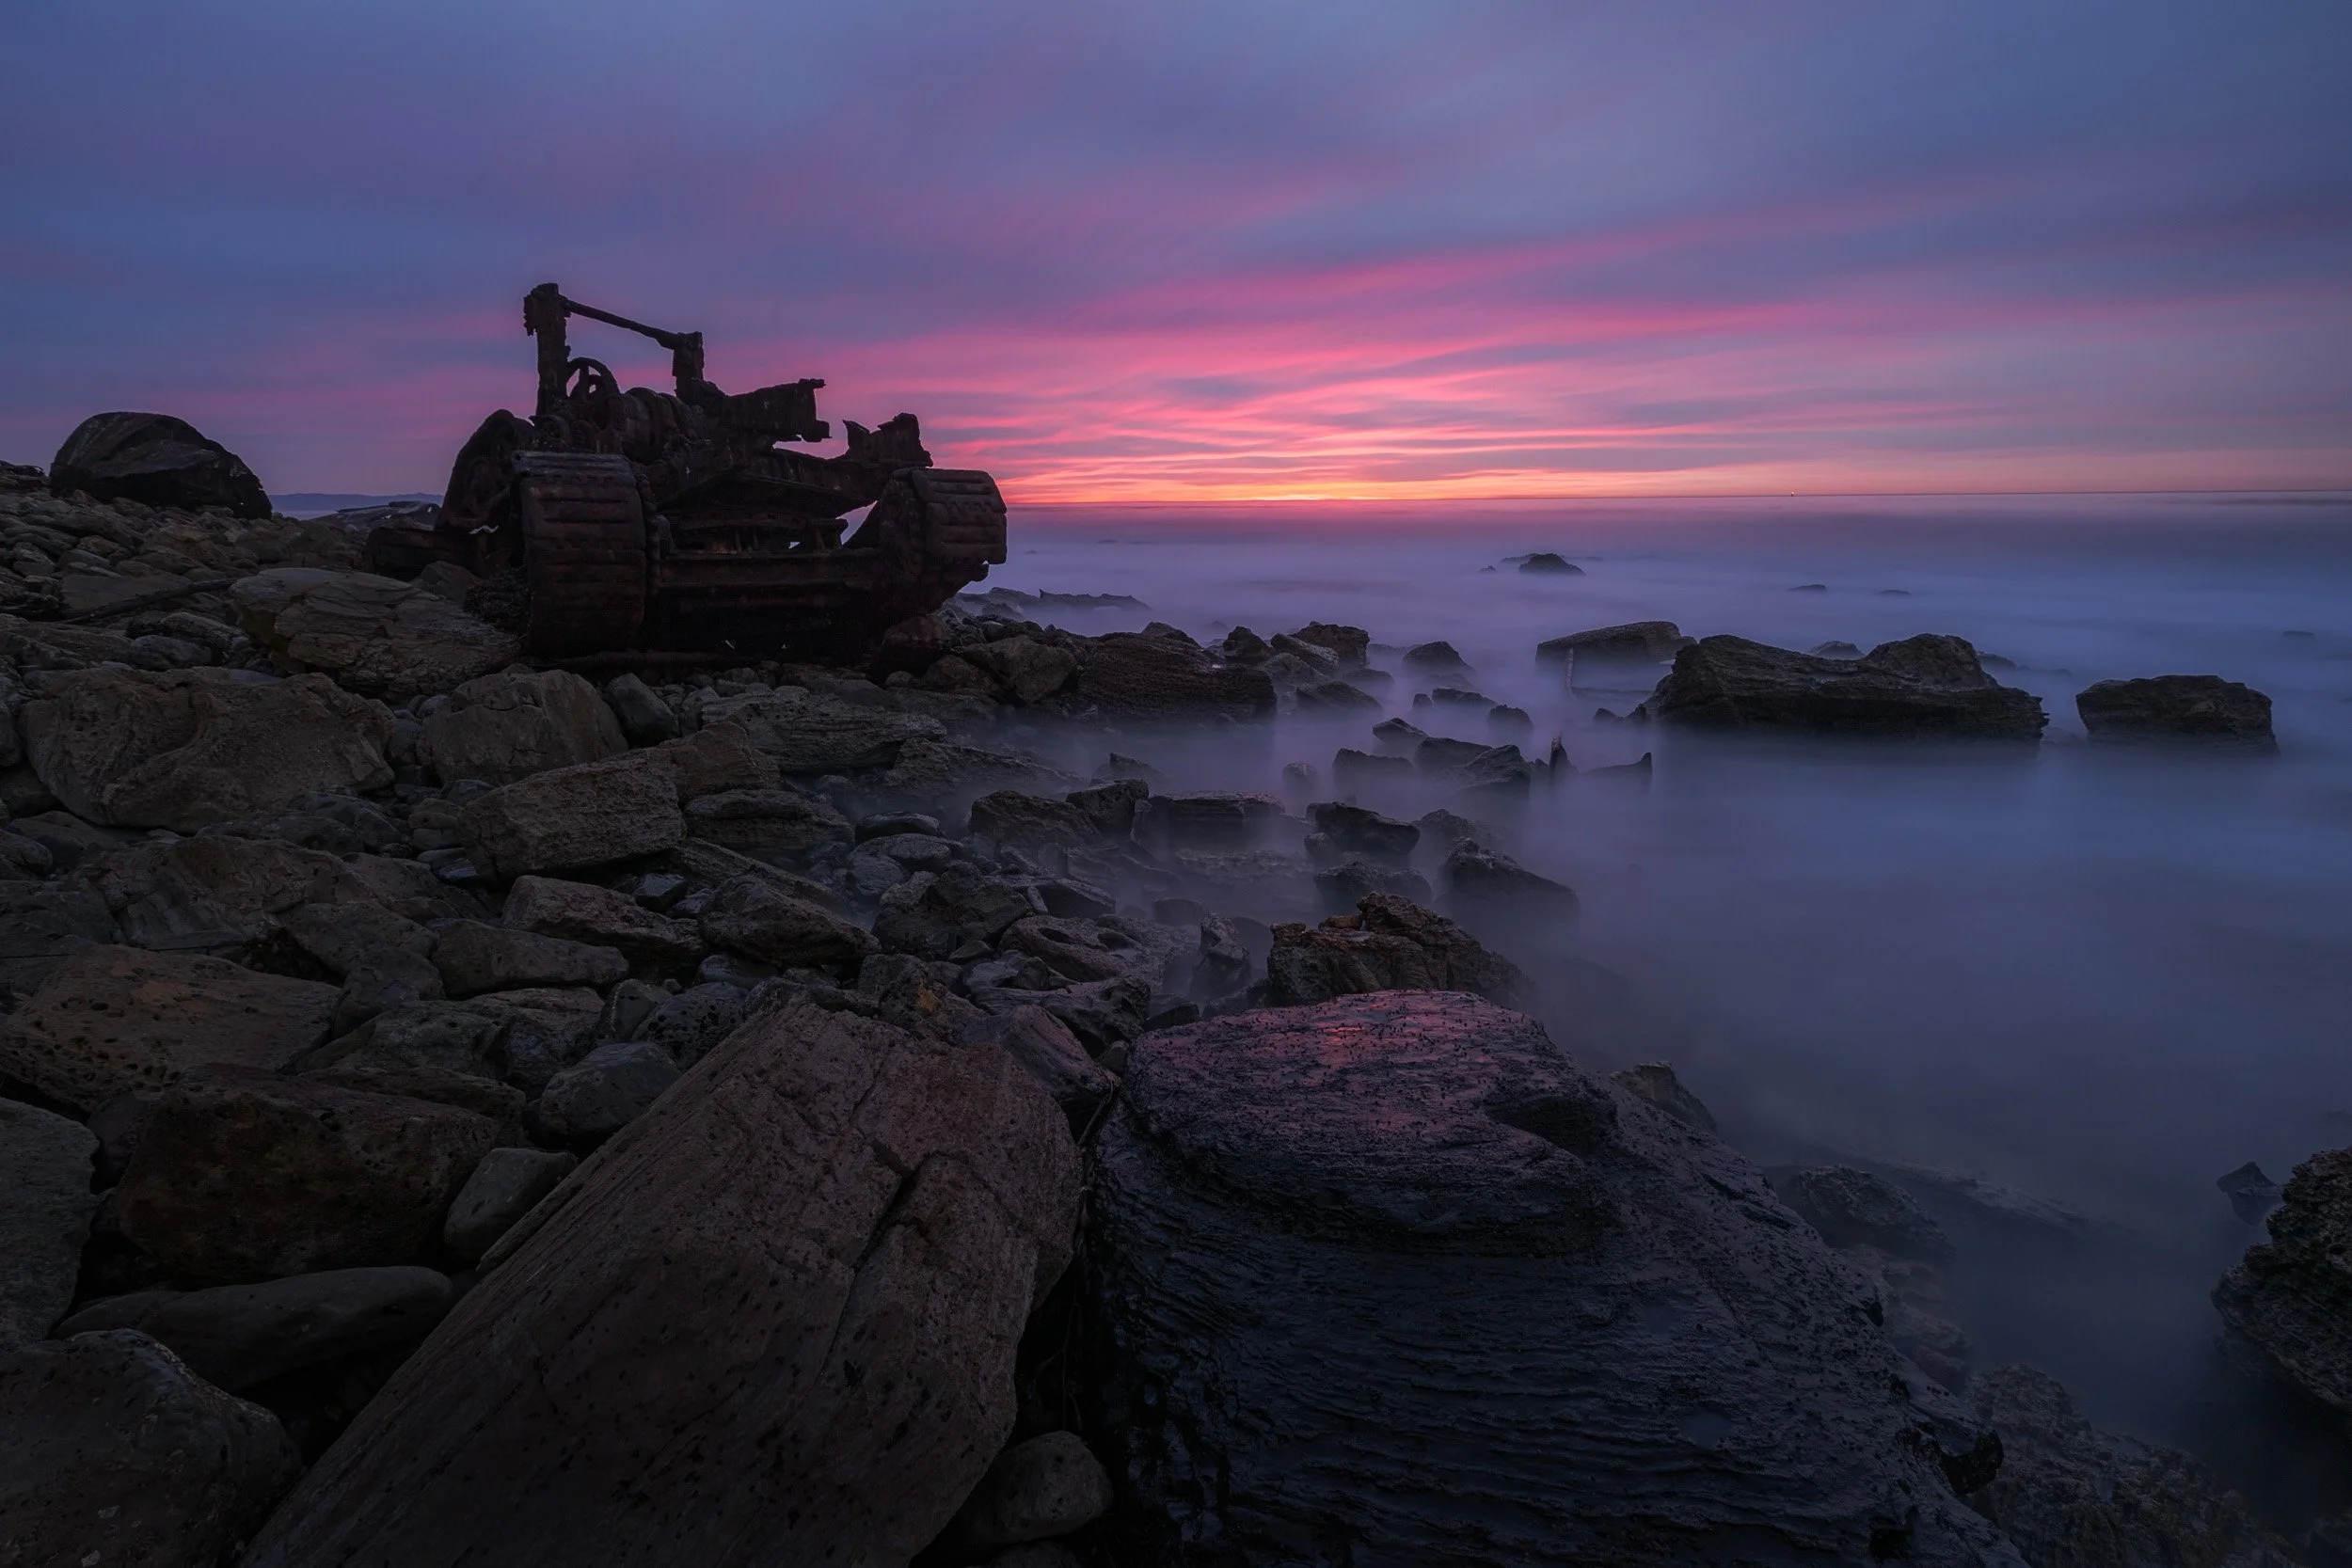
3-Stop, 6-Stop, & 10-Stop ND Filters: A lighter 3-stop or 6-stop Neutral Density filter gives you just enough control to hit that "sweet spot" shutter speed (usually between 1/8 second and 2 seconds) where water movement retains crisp texture and trailing lines. Heavy 10-stop filters can turn the ocean into a magical foggy dreamscape that really makes your compositions feel fine art. Long exposures are really a magical way to explore water motion and show your viewers something that they can’t experience with their own eyes.
Grad ND Filters: Graduated ND Filters are a game changer for capturing wide dynamic ranges in a single shot. When shooting water motion the ability to bracket is almost impossible. When you bracket your exposure the water motion is changing it’s appearance in an instant. Even the fastest shutter speeds are unable to be recompiled to create an image. Once we slow down our shutter speed to 1/8 second and 2 seconds we’ve totally lost the ability to bracket. This is where grad filters help you. They darken the bright sky and in turn help to brighten the shadows, which will squeeze your dynamic range down to something more manageable in a single exposure. Grad filters also slow down your shutter speed be a stop or more, depending on it’s darkness, which will help you to achieve those wispy shutter speeds that are desired. Together with your regular ND filters you’ll have total control over the light and shutter speed. For those looking for the fine art appeal of a long exposure, the grad ND is non-negotiable. There is no way to bracket a 2-4 minute exposure. You need to capture all of the dynamic range in one shot. All of these reasons are why you won’t find me shooting at sunset near the water without a graduated ND in front of my lens.
Which Grads?: I prefer a soft grad or medium grad when referring to the edge. A hard edge is very hash and often creates an effect which is somewhat unnatural. I use a soft edge as it can be used in environments from the coast to the mountains without effecting foreground elements very much. Keep in mind that the grad doesn’t know what it’s in the photo. If a tree or a mountain is sticking up into the sky, it’s going to darken that too. You can fix those things in post if you’re good with masking. A reverse grad is great on days where the horizon is clear, but can be too harsh on days with clouds on the horizon. I rarely use my reverse grad, but on the right day it’s just what the doctor ordered. Grads come in different densities ranging from 1-5 stops depending on the manufacturer. I personally use a 3 stop soft grad as it’s typically just right for sunsets. However a range of 1-4 stops is recommended depending on different light and shooting conditions.
Square vs. Circular Systems: The big debate; is a square system or a circular system right for seascape. For me personally I can’t live without my square system when shooting the motion of the ocean. One of the biggest reasons is that I’m able to adjust the grad filter to rest exactly how I want without adjusting my composition. I can easily slide the filter up and down in the square filter holder and position it right where I need to for the best result. If you’re using a square system you’re forced to accept where the graduation rests or make undesired composition adjustments. In square systems I can also rotate the grad filter to the side to darken more of one side of the frame if I’m shooting an off angle from the sun, which helps to balance the exposure across the frame. Another benefit of square systems is the ability to stack multiple filters without experiencing vignetting. With my NiSi V7 System I can stack 4 filters and not have any vignetting. For example, I can have a CPL, 10-stop, 3-stop and Grad ND being used all at once. Trying using 4 filters in a screw on system at 16mm and you’re probably going to be looking through a gun barrel. Most importantly for me, is that Square systems allow me to change filters quickly without having screw on and off filters. As the light changes or I want to switch my shutter speeds around, I can quickly add or remove filters and keep my workflow moving.
The "Unsexy" Field Survival Kit
The most important gear in my bag isn't digital—it's the maintenance tools that keep glass clean when marine layer mist and sea spray roll in.
The Microfiber Rotation: Never rely on a single lens cloth. Once a cloth absorbs salt air, it will just smear greasy salt residue across your glass. Carry a dozen cheap, clean microfibers in a sealed Ziploc bag. Use one until it gets damp, toss it into a "used" bag, and pull out a fresh one.
Rocket Blower: I love using a rocket blower for blowing water droplets off my front element or filters. It reduces the streaking and residue smearing that wiping down your gear with a cloth causes. The blower is also awesome for removing dry sand from tripod joints, or blowing water out of camera buttons and crevices if your rig takes a unexpected splash.
A Dedicated Dry Towel: Clipped to the outside of your camera bag for drying your hands, tripod legs, and camera body before you touch your optics.
Dress to Get Wet: I always tell my clients, if your feet didn’t get wet, you probably missed the shot. When I shoot seascapes, I wear boardshorts and a cheap pair of sneakers that I treat purely as my "water shoes." Plan on getting wet! I strongly recommend closed-toe shoes with solid tread—they protect your feet against sharp barnacles, provide traction on wet, jagged rocks, and won't get ripped off your feet by strong ocean currents like flip-flops will.
After The Shoot (The 1-Gallon Fresh Water Trick): Make sure your gear is completely free of salt water before packing up. When I get back to my car, I use a 1-gallon jug of fresh water to thoroughly rinse salt water and sand off my tripod legs before wiping them dry. Even with this routine, I break down my tripod at least once a quarter for a deep cleaning of the twist locks. It’s simple preventative maintenance—ignore cleaning your tripod and you’ll be buying new legs and ball heads every year or two.
What to LEAVE at Home
Saving weight keeps you nimble on the rocks and lets you react quickly when a big set comes rolling in:
Unnecessary Telephoto Lenses: Leave heavy 70-200mm or super-telephoto lenses in the trunk or at home unless you have a very specific distant composition planned from an elevated cliffside view. (Funny enough, I still carry my 70-200mm with me far too often and rarely use it on the beach—I should take my own advice here!).
Flimsy Budget Tripods: Lightweight travel tripods with thin, spindly legs will vibrate violently in the wash of a retreating wave. Your entry-level budget tripod is simply not going to cut it in heavy surf. If your tripod leaves you wondering whether it’s going to tip over into a wave, it’s time to upgrade. A sturdy support protects a multi-thousand-dollar camera setup—it is worth every penny of the investment.
Gimmicks & Unused Accessories: Skip the specialized single-use accessories, multiple camera bodies, and excess gear that keeps you weighed down in the splash zone.
Ready to Put Your Gear to Work on the Coast?
Having a clean, minimalist pack is the first step—but knowing how to read tide charts, predict marine layer light, and time crashing waves safely in the field is where high-end coastal images are made.
If you want to master the art of long-exposure seascapes and elevate your visual storytelling, join me live in the field:
🌊 Late August Group Seascape Masterclass: A hands-on, immersive weekend workshop along SoCal’s best coastal locations. Click here to learn more & reserve your spot. Future dates coming soon.
📸 Private 1-on-1 Field Coaching: Custom, tailored instruction designed around your specific camera gear, shooting goals, and schedule. Click here to book a private session.