The Manual Mode Trap: When to Take Control and When to Let Your Camera Do the Work
Ask almost any seasoned photographer what advice they give beginners, and you’ll hear the same line delivered like a rite of passage: "Get off Auto and learn to shoot in Full Manual."
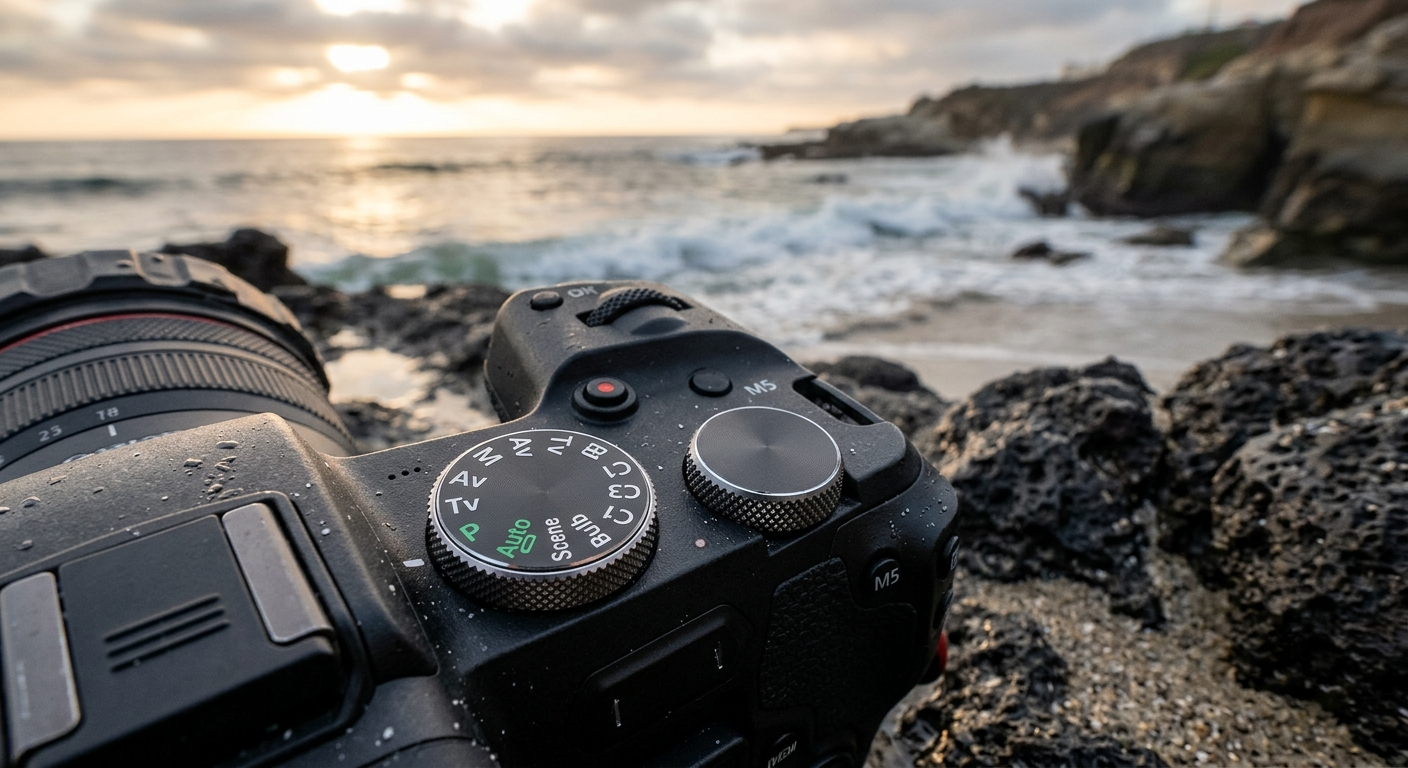
Your camera's mode dial isn't a badge of honor—knowing when to switch off 'M' is what saves the shot.
I believe in this whole-heartedly. When I teach workshops or coach clients one-on-one, we start in Manual Mode because it forces you to understand the exposure triangle—how aperture, shutter speed, and ISO interact to shape an image. Most beginners are so focused on framing and clicking the shutter button that they bypass the most important aspects of building a photograph using the exposure triangle. Mastering Manual Mode is how you stop taking lucky guesses and start making intentional artistic choices. You move from occasionally getting the exposure right to always getting the exposure right.
But somewhere along the way, a strange form of gear elitism took root in the photography world. A belief emerged that if your mode dial isn't locked on "M" 100% of the time, you aren't a "real" photographer.
That mindset is a trap.
The truth? Refusing to use your camera’s smart semi-automatic features when the situation calls for them won't make your photos better—it will just make you slower, and speed is often the difference between catching the peak moment and missing it entirely.
Here is how to know when to take full manual control, when to let your camera’s brain do the heavy lifting, and four default settings you should turn off immediately.
When Manual Mode is Non-Negotiable
There are scenarios where letting the camera make exposure decisions will actively ruin your shots. Manual Mode remains absolute king in situations where consistency and precision override speed:
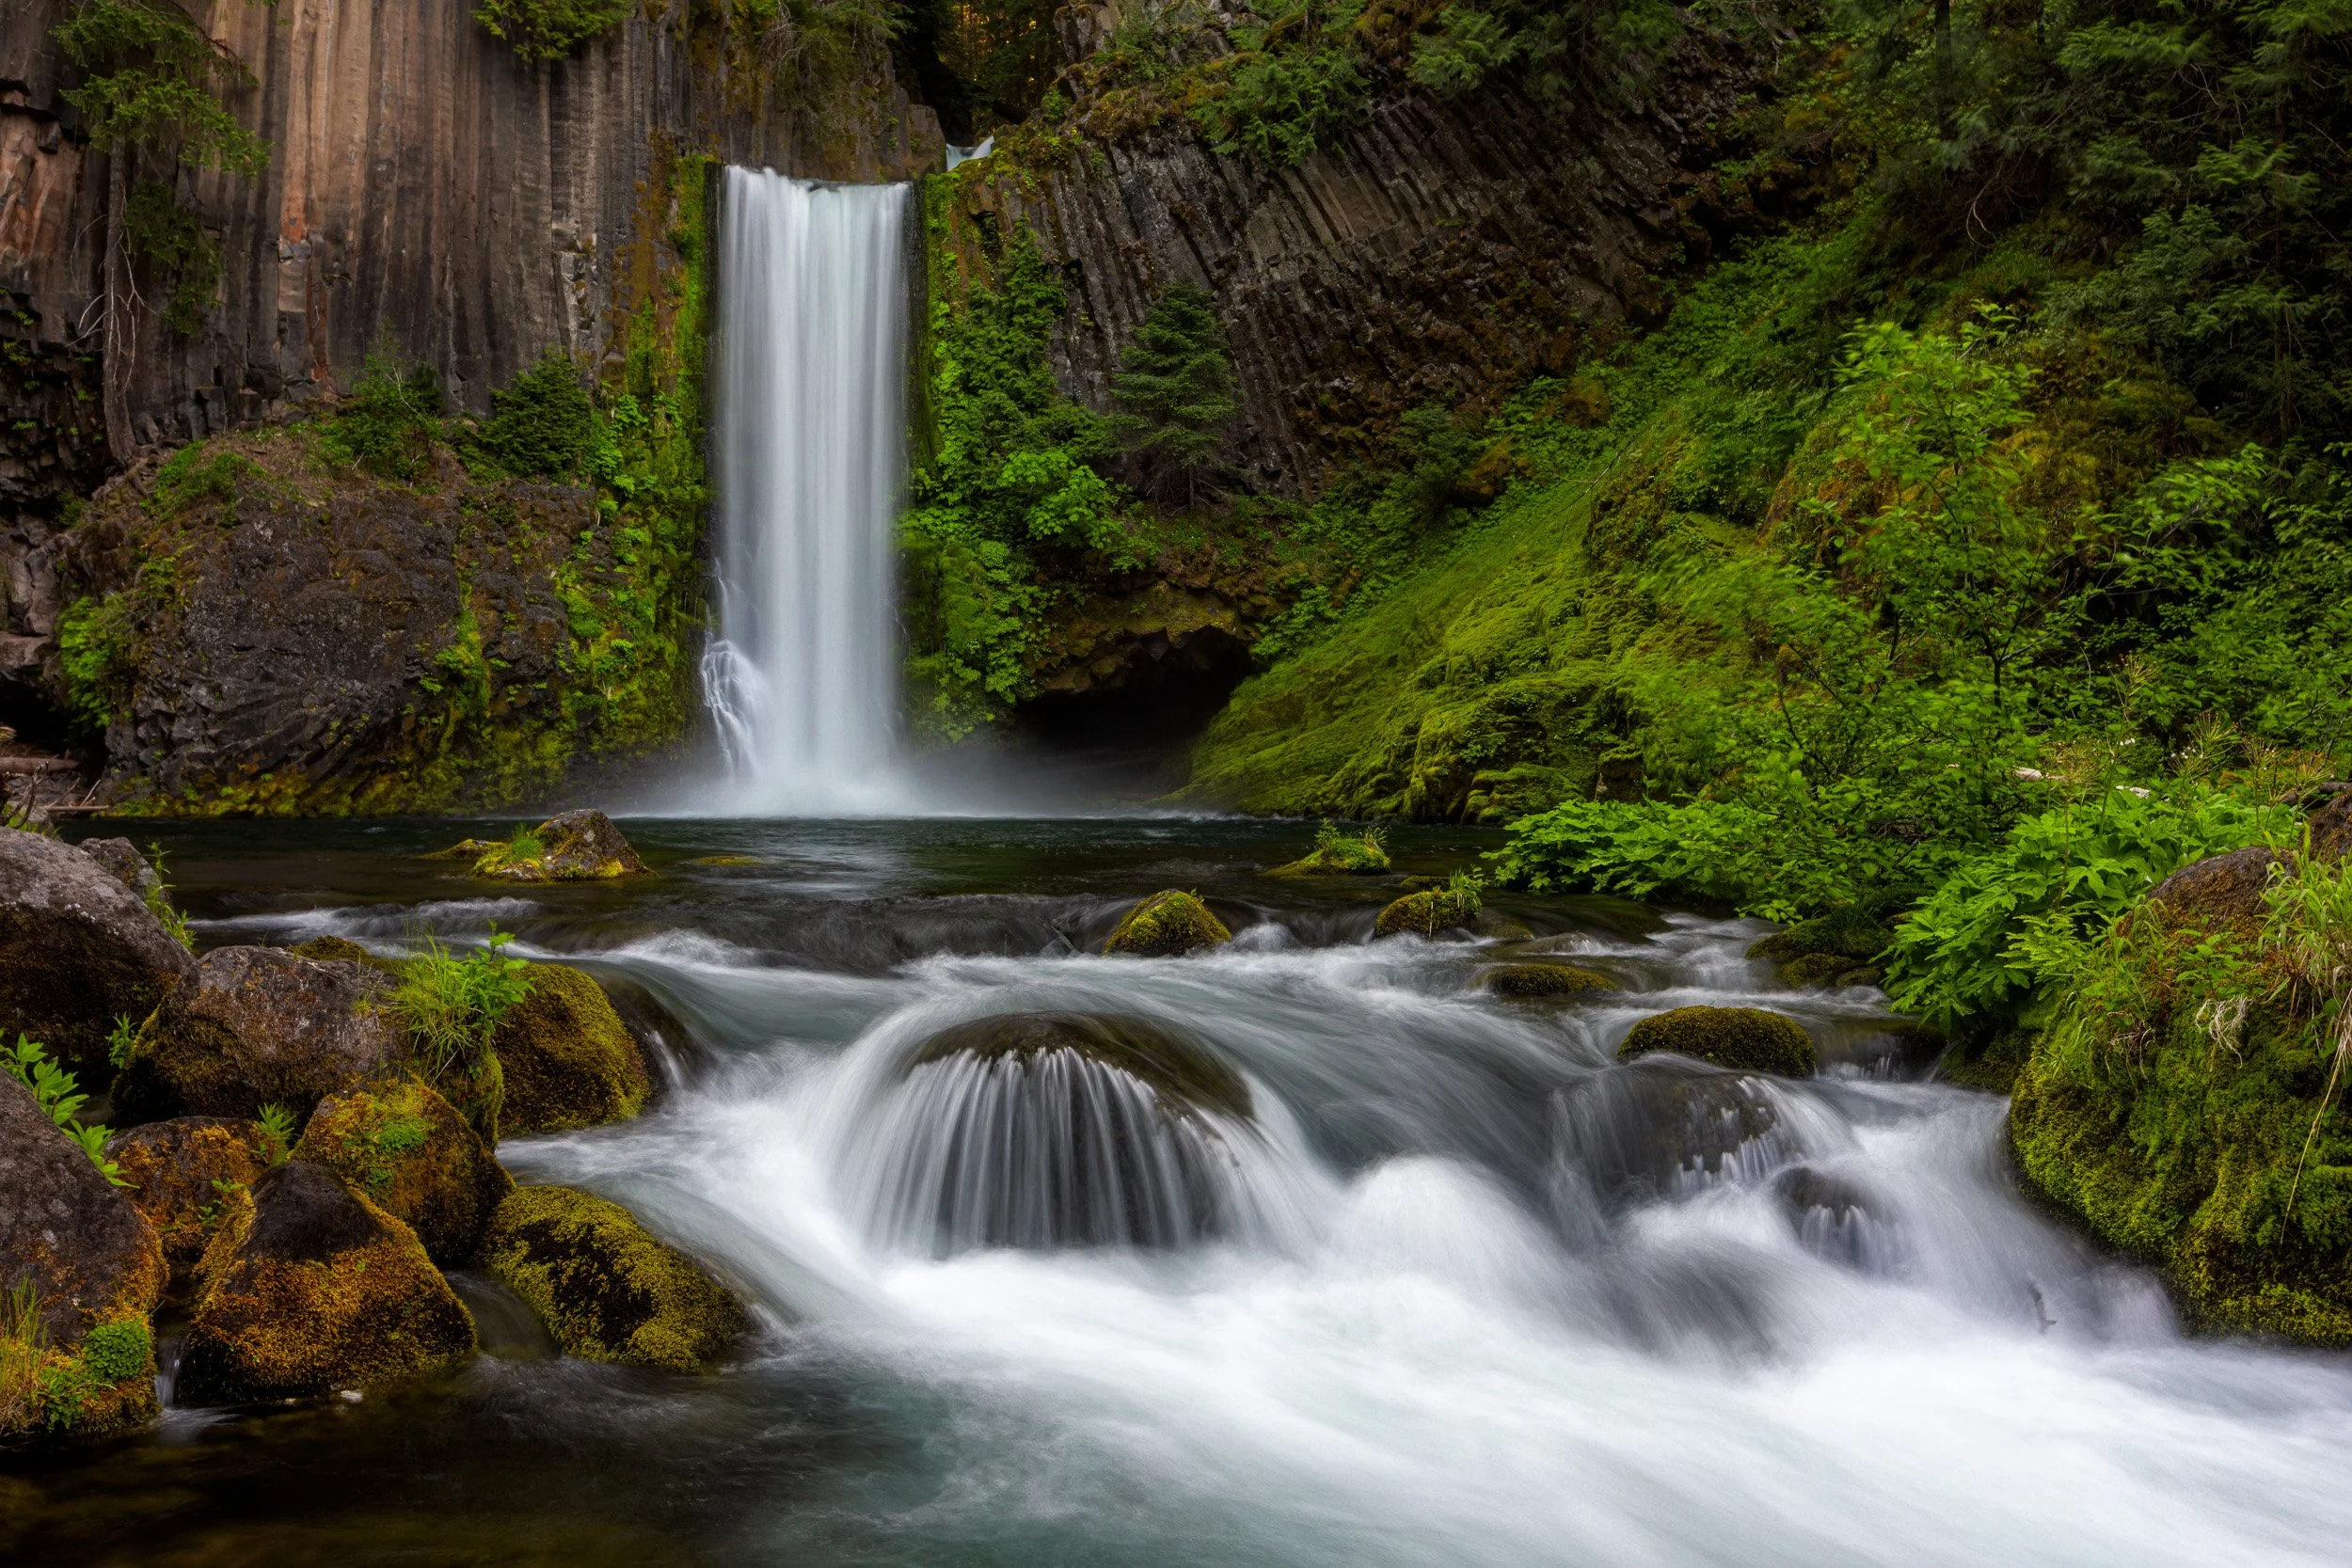
Long Exposures & Tripod Work: Whether you’re smoothing out ocean waves, shooting a waterfall, or capturing milky light trails, long exposures require fixed settings. If your camera recalculated exposure between frames, your water textures would be wildly inconsistent.
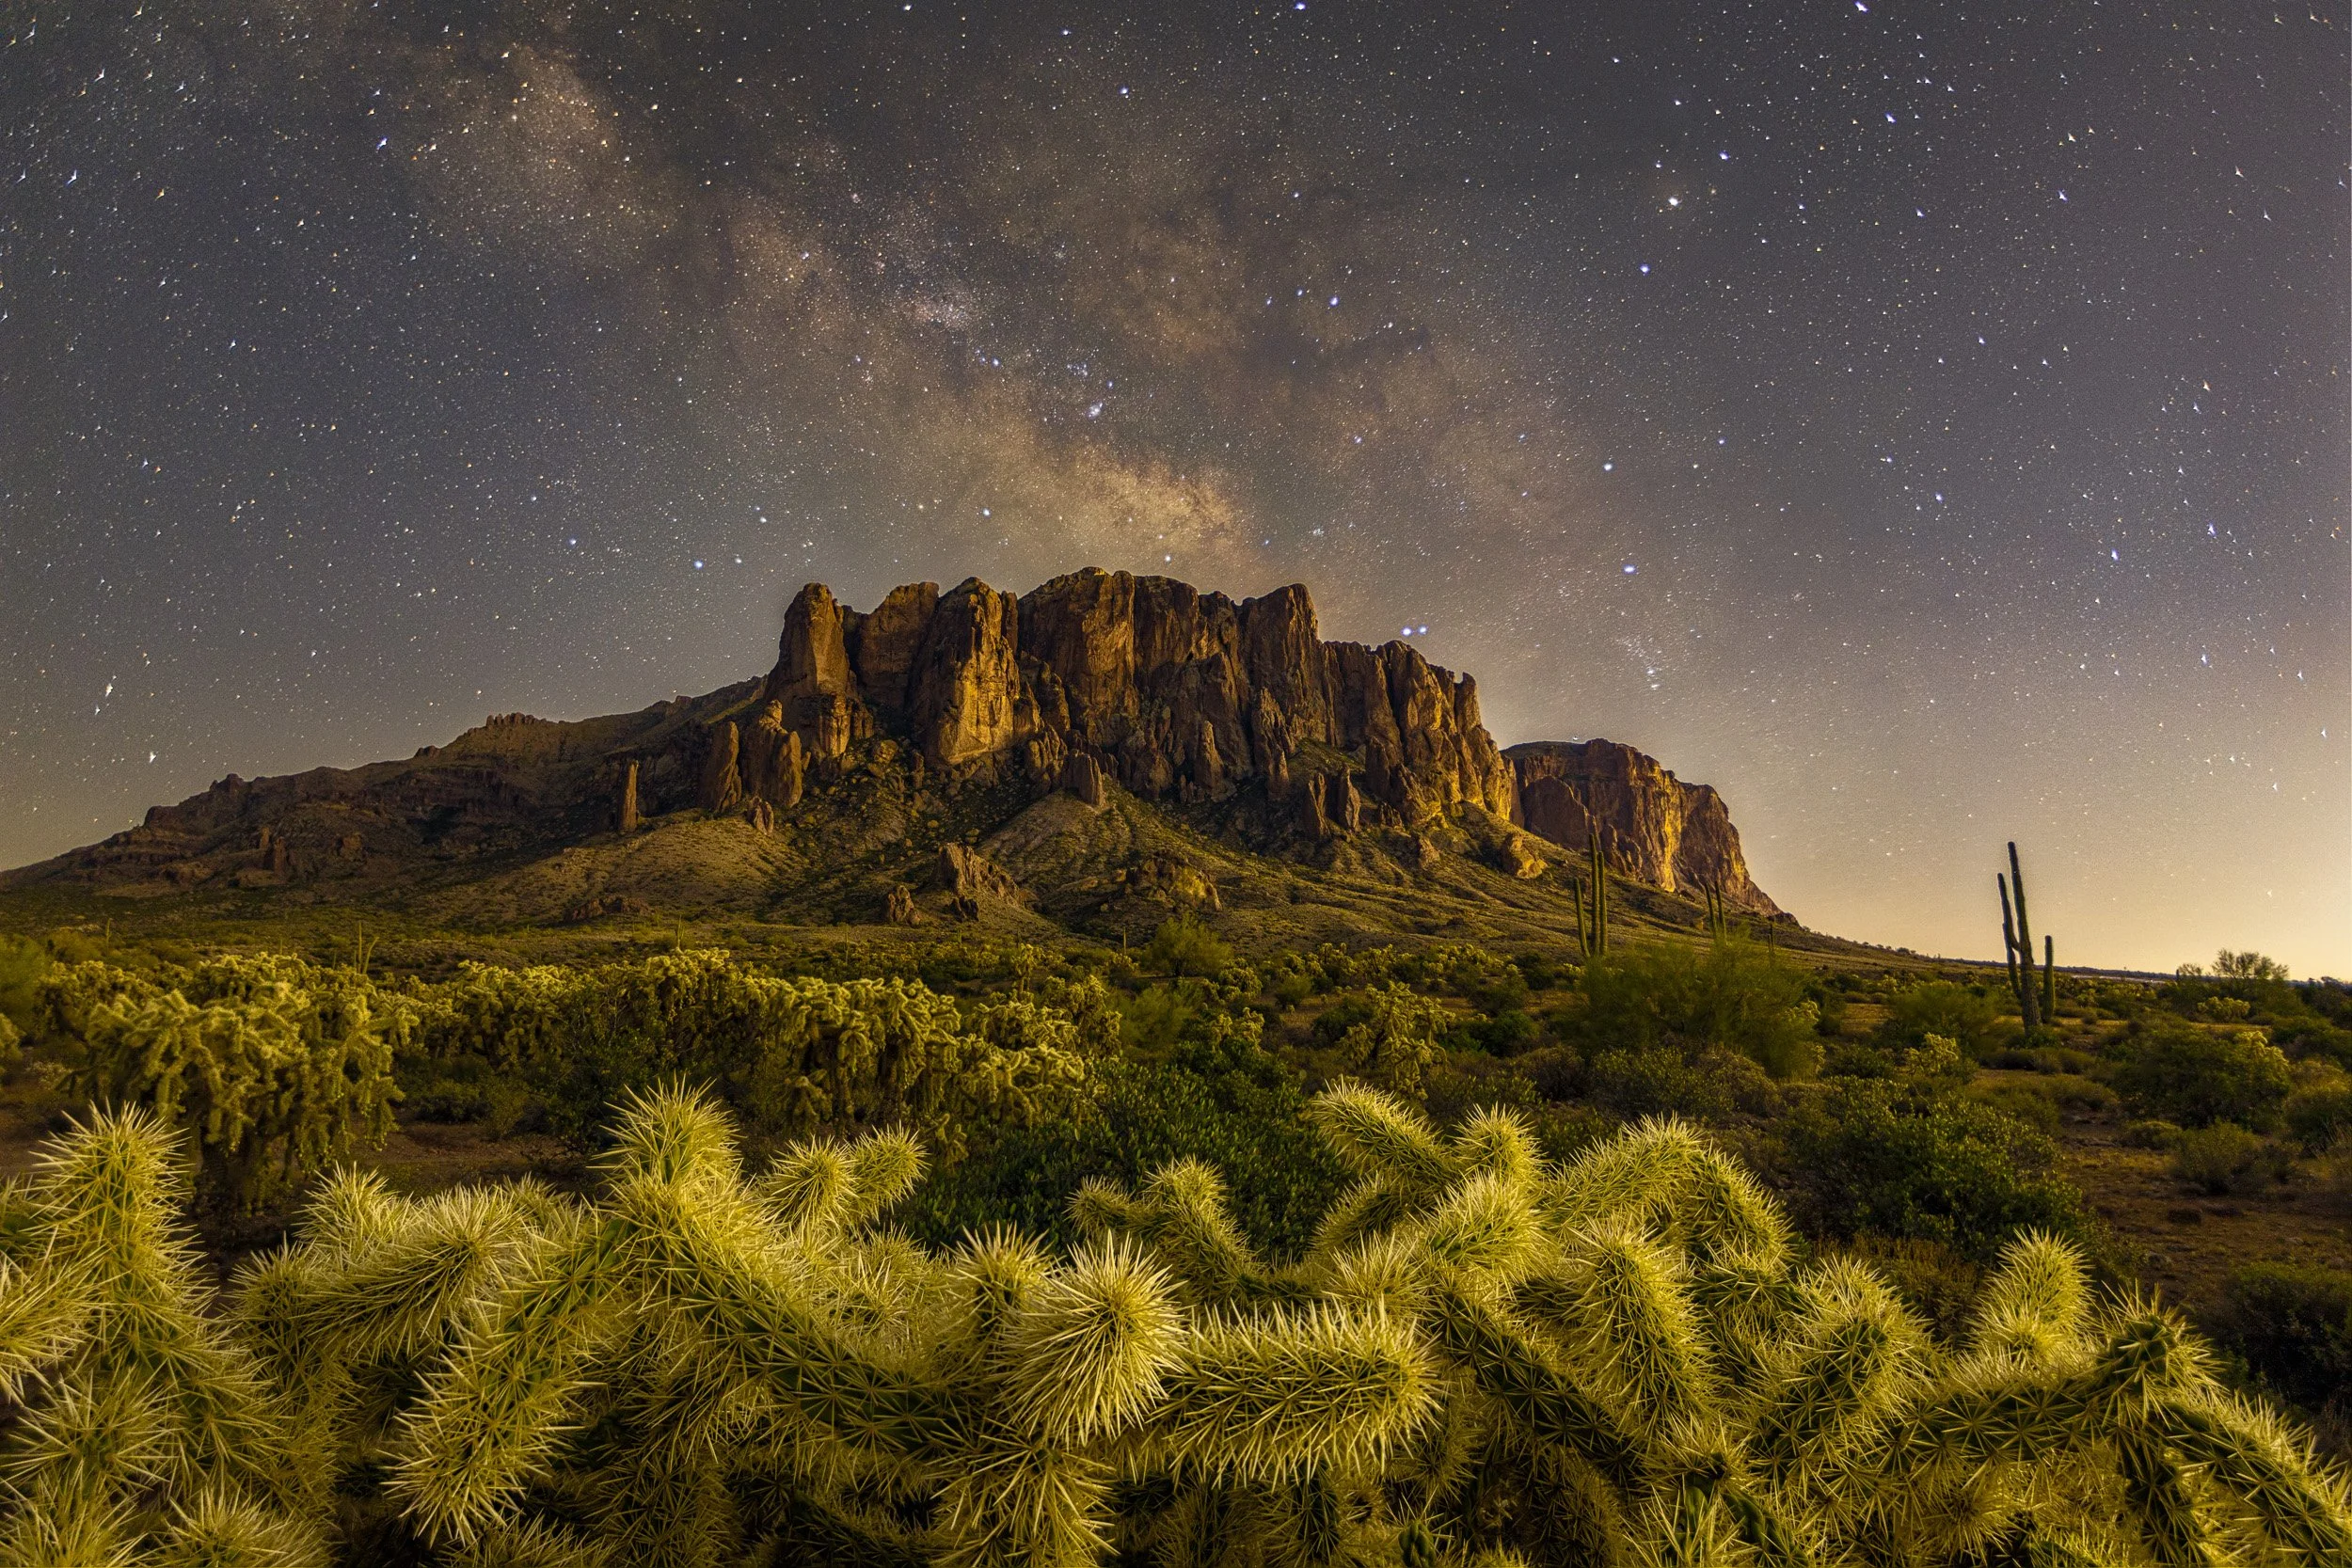
Astrophotography & Low Light: In pitch-black environments, your camera’s light meter is useless. You need full manual control over aperture, high ISO, and precise shutter speeds to collect pinpoint starlight without trailing.
HDR & Exposure Bracketing: If you're capturing multiple frames to blend high dynamic range scenes, every shot must maintain the exact same aperture and ISO baseline.
Stable, Unchanging Light: When you’re set up on a tripod waiting for sunset and the overall light isn't shifting rapidly, Manual Mode lets you lock in your ideal histogram and focus entirely on composition.
The Real-World Reality: When Semi-Auto Saves the Shot
Now imagine a different scenario: You’re hand-holding your camera, hiking a trail where light flips between open sunlight and dense forest shade, or chasing fast-moving light across a landscape on foot.
If you're in full Manual Mode, every single time you tilt your lens toward a new direction, you have to stop, adjust your shutter speed, tweak your aperture, check your ISO, and re-meter. By the time you’ve dialed in your settings, the light has shifted, the bird has flown, or the wave has broken.
This is where smart semi-auto modes shine.
The Power of Aperture Priority
Instead of fighting all three variables on the fly, switching to Aperture Priority (A or Av) lets you focus on the single most critical aesthetic decision in landscape photography: Depth of Field.
Here is how simple it is in practice:
You Control the Depth of Field: You select your aperture based on your artistic intent—like ƒ/8 to ƒ/11 for front-to-back sharpness across a landscape, or ƒ/2.8 for soft background blur.
You Lock in a Clean ISO: Keep your camera set to its baseline native ISO (usually ISO 100) to ensure maximum dynamic range, shadow detail, and zero digital noise.
The Camera Selects the Shutter Speed: The camera automatically calculates and adjusts the shutter speed based on available light.
As long as your shutter speed stays fast enough for handheld shooting (or you're mounted on a tripod), this mode allows you to move rapidly through changing light conditions while keeping full artistic command over what is sharp in your frame.
The Creative Motion Control of Shutter Priority
While Aperture Priority is the go-to for depth-of-field control, Shutter Priority (S or Tv) is your secret weapon whenever movement is the main subject of your story.
In Shutter Priority, you pick the exact shutter speed required to achieve a specific look, and the camera automatically manages the aperture to maintain a clean exposure:
Freezing Explosive Action: When you’re standing on the rocks watching heavy winter swell slam into a sea wall or pier pilings, set your camera to 1/1000s or faster. It locks in frozen water droplets hanging in mid-air, capturing raw ocean power with razor-sharp detail.
Dialing In Intentional Water Motion: Want that dynamic "ghosting" effect where wave movement has motion blur, but the rocks beneath remain sharp? Set your shutter to 1/4s to 1/15s and let the camera adjust the aperture on the fly as clouds drift over the sun (keep in mind these slower speeds will require a tripod).
Handheld Telephoto Shooting: If you’re using a long telephoto lens on foot without a tripod, keeping your shutter speed at or above the inverse of your focal length (e.g., 1/400s for a 400mm lens) prevents micro-jitters from ruining your focus.
By using Shutter Priority when motion is king, and Aperture Priority when depth of field is king, you let the camera handle the math while you stay 100% focused on timing and composition.
The Secret Weapon: Exposure Compensation
The biggest fear photographers have about leaving Manual Mode is losing control over brightness. What happens when the camera's meter gets tricked by a bright white wave or a dark sea cliff and makes the scene too dark or too blown out?
That’s where Exposure Compensation (+/-) comes in—and it’s the key to mastering exposure using semi-auto shooting.
Your camera's light meter always tries to evaluate the scene and render everything as a balanced, neutral "18% middle gray." However, depending on your metering mode, you can get vastly different exposure results from the same scene, and the camera might not prioritize the correct areas of the frame. Because of this:
Bright Scenes (bright sand, white surf, snow): The meter gets tricked into thinking the scene is too bright and automatically underexposes your shot, making white foam look dull and gray.
Dark Scenes (shadowed bluffs, dark wet rocks, heavy foliage): The meter thinks the scene is too dark and overexposes your shot, washing out deep tones and causing highlights to blow out.
Instead of switching back to Manual Mode and recalculating every variable, you simply dial in Exposure Compensation:
Dial it Positive (+0.7 to +1.5 EV): Tell the camera, "I know this scene is naturally bright (like white surf or snow)—push the exposure to the right so it stays bright without blowing out highlights."
Dial it Negative (-0.7 to -1.5 EV): Tell the camera, "The highlights are getting too washed out—keep those shadows dark and rich and protect the bright areas."
By pairing Aperture or Shutter Priority with Exposure Compensation, you get the absolute best of both worlds: the blazing speed of the camera’s internal computer, with your thumb directly on the wheel guiding the final exposure. After taking a shot in a program mode, I still always review the exposure by referencing the histogram, checking for highlight or shadow clipping, and tweaking Exposure Compensation as needed. Remember that program modes are there to assist, they are not a full self driving service. You still need to ensure you’re getting a good exposure and focusing correctly.
4 Camera Defaults You Should Turn Off Immediately
While we’re talking about taking control back from your camera, here are four "factory defaults" that quiet your camera down and clean up your workflow:
In-Camera Long Exposure Noise Reduction: When turned on, your camera takes a second "dark frame" equal to the length of your exposure to clear noise. A 2-minute exposure suddenly takes 4 minutes before you can shoot again! Turn it off and handle noise reduction in post-processing instead. (The only time I recommend leaving this on is if you shoot JPEGs straight out of camera without post-processing).
The AF Confirmation Beep: There is nothing quite like a loud digital BEEP-BEEP to shatter the peace of a tranquil sunrise or annoy fellow photographers. Mute your camera audio completely—your fellow photographers will thank you!
Auto White Balance (AWB) for Landscapes: AWB constantly shifts color temperature frame-to-frame as light subtly changes, making batch editing a nightmare. While AWB can deliver decent results mid-day, it often fails drastically at accurately gauging rich colors during golden hour or vibrant sunsets. Lock your White Balance to Daylight, Cloudy, or Shade for consistent color across an entire shoot.
High ISO Noise Reduction (for RAW Shooters): In-camera noise reduction bogs down your camera's buffer and only affects JPEG previews. Turn it off to keep your buffer clear and your RAW files untouched.
The Bottom Line
Great photography isn't about bragging rights over what letter your mode dial is pointing at. It’s about understanding your tools so thoroughly that the camera gets out of the way of your vision.
Use Manual Mode when you need surgical control. Use semi-automatic modes when you need speed and adaptability. The best photographers aren't the ones who only shoot manual—they're the ones who know how to use every tool in their camera's arsenal to get the shot.
Ready to Build a Custom Workflow That Works for You?
Struggling to figure out which camera settings, focus modes, or metering methods fit your personal style? Let’s dial it in together live in the field.
📸 Private 1-on-1 Field Coaching: Tailored, hands-on instruction designed around your specific camera body, shooting style, and creative goals. Click here to book a private session.
🌊 Group Masterclasses & Workshops: Learn advanced field techniques, composition, and exposure strategy alongside a community of passionate photographers. Click here to view upcoming workshop dates.