What are Luminosity Masks? Free Action and Video
What are Luminosity Masks?
By
Chris Ewen Crosby
If you are using Adobe Photoshop to edit your photos, or you know others who do, then you’ve probably heard the word luminosity masks thrown around quite a bit. So what is all the fuss about? Truth is, luminosity masks are a great tool to assist you in making targeted selections so adjustments focus on only portions of the image. In this tutorial I’m going to touch on what a mask is, then what luminosity masks are, and finally how to create a Photoshop action to quickly create luminosity masks for all your images. After reading the tutorial, check out a short video on all these subjects and don’t forget to download my free Photoshop Action to try out.

Luminosity Mask in Adobe Photoshop
Masks
Before we talk about luminosity masks let’s first talk about what a mask is. In photoshop, a mask can be used to reveal or hide any type of layer or adjustment. Portions of a layer that are masked will be shown and those that are unmasked will be hidden. When you add a mask to a layer it is traditionally white. The white color in a mask reveals the layer 100% and black would hide it 100%. Values between white and black will change the intensity of how much the mask is revealing the layer, much like layer opacity and fill. For example, if we had a grey mask, the layer masked would be revealed at 50%. Below you can see an example of what a mask is. On the right of the image you’ll see the layers panel in photoshop. I have a photo, named background, that I have created a new layer on top of, called layer 1. I filled layer 1 with the color red and then added a mask to it.

The white box that you see next to layer 1 is a layer mask . The mask is white, which means that it is showing 100% of my red layer above the layer below.
To better illustrate the effects a mask has you can brush on the layer mask using the color black. I chose the brush tool, selected a round brush, and a soft hardness. Make your brush opacity 100% and flow %100. Then I selected black as my foreground color and made some brush strokes on the masks, which you can see in the image below.

Now that I have painted black on the white mask, areas that are black are no longer showing the red layer and allowing the image below it to be shown. Furthermore, as we discussed earlier, values in between white and black are somewhat faded. Looking at the edge of my brush strokes, you’ll notice that my soft brush with a low hardness has created values of grey. Those grey values are softening the red layer and you’ll see a small gradient along the edge of my brushing.
Hopefully from this basic illustration you have an idea what a mask is and what it does. If you need more instruction you can find lots of basic instruction out there. Masks can be used in several ways in photoshop, but what we are going to talk about luminosity masks.
What is a luminosity mask?
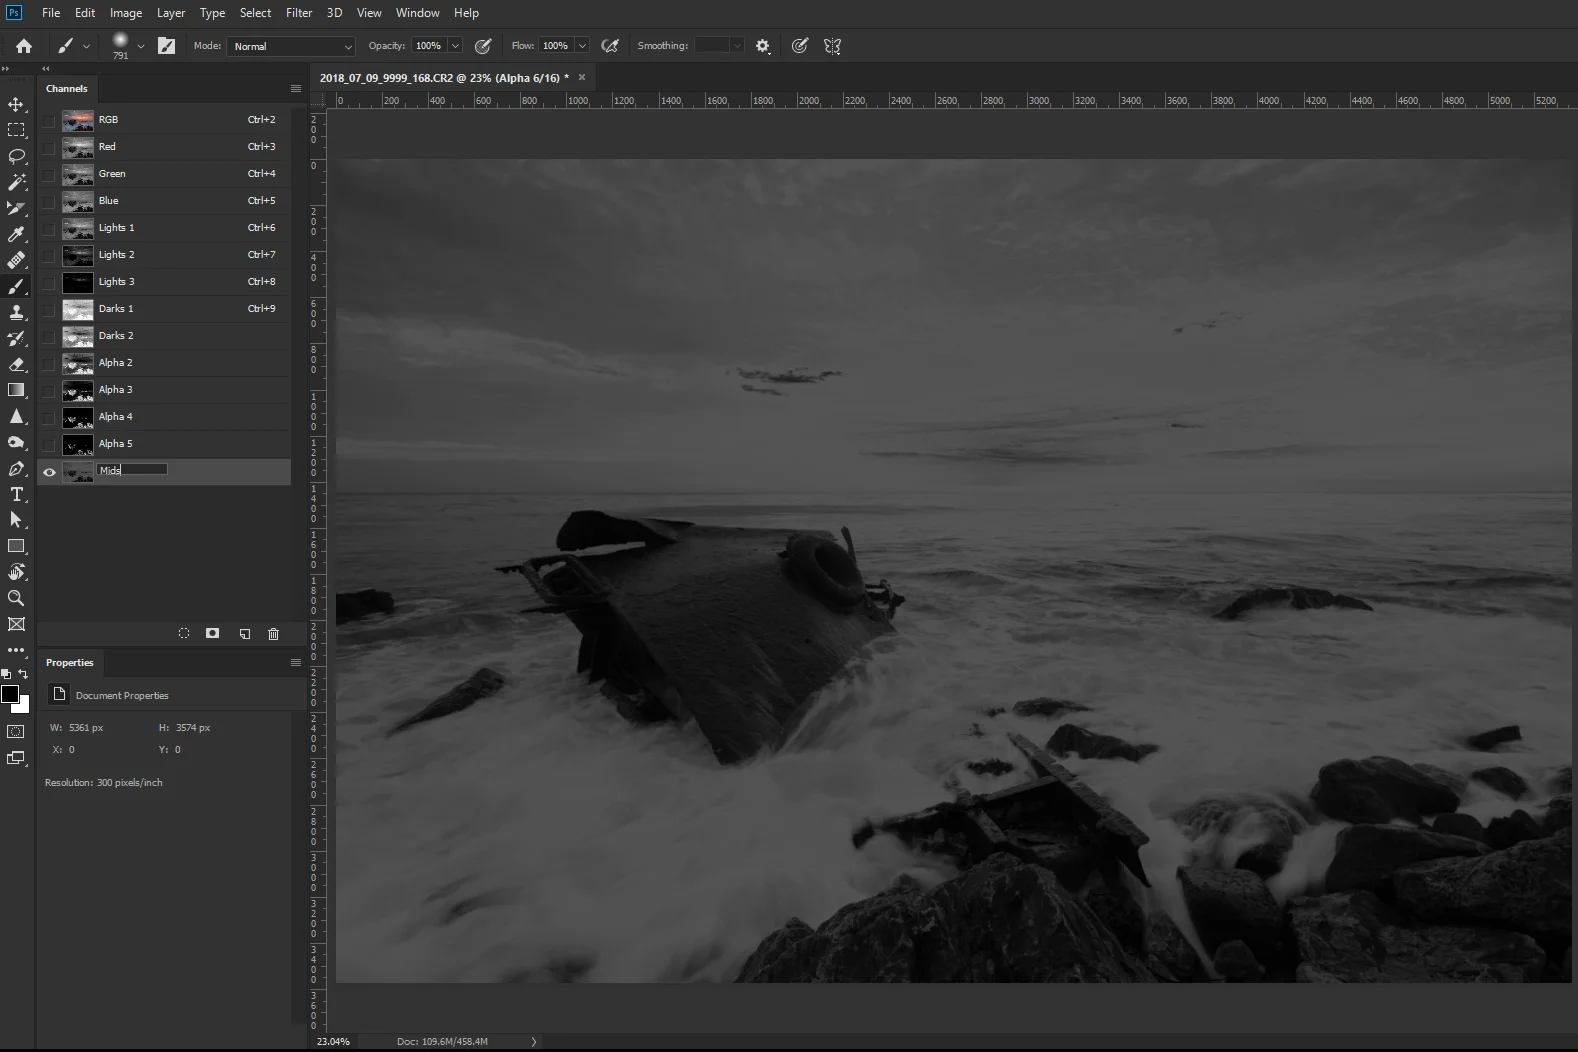
A luminosity mask is a mask made based upon the luminance values of an image. Photoshop can create masks that target the different luminance values of an image so that we can adjust only those parts that we want to. An example of this would be targeting the lightest, darkest, or mid luminance values of the image. You can refine masks to target more or less of an image. The possibilities are endless once you have better understanding of how to use them. Before you can create and see a luminosity mask you must first choose any image with good tonal range, meaning both light and dark tones. Choose one of your own and open it in photoshop to follow along. To see a luminosity mask you must first open up the channels panel in photoshop. If you aren’t sure where it is, click on the window menu at the top of the screen and make sure channels is checked. Below you can see the location of my channels panel and where open the panel. Yours is probably located next to your Layers panel on the right. I’ve moved mine to the left as it is more convenient for my editing workflow.

Once you’ve opened and located your channels panel you will see 4 layers or channels, RGB, Red, Green, and Blue. By clicking on the Blue Channel layer you can see what a luminosity mask is based upon the blue color in the image. White is where there is more blue, and black is where there is less blue. See the image below.

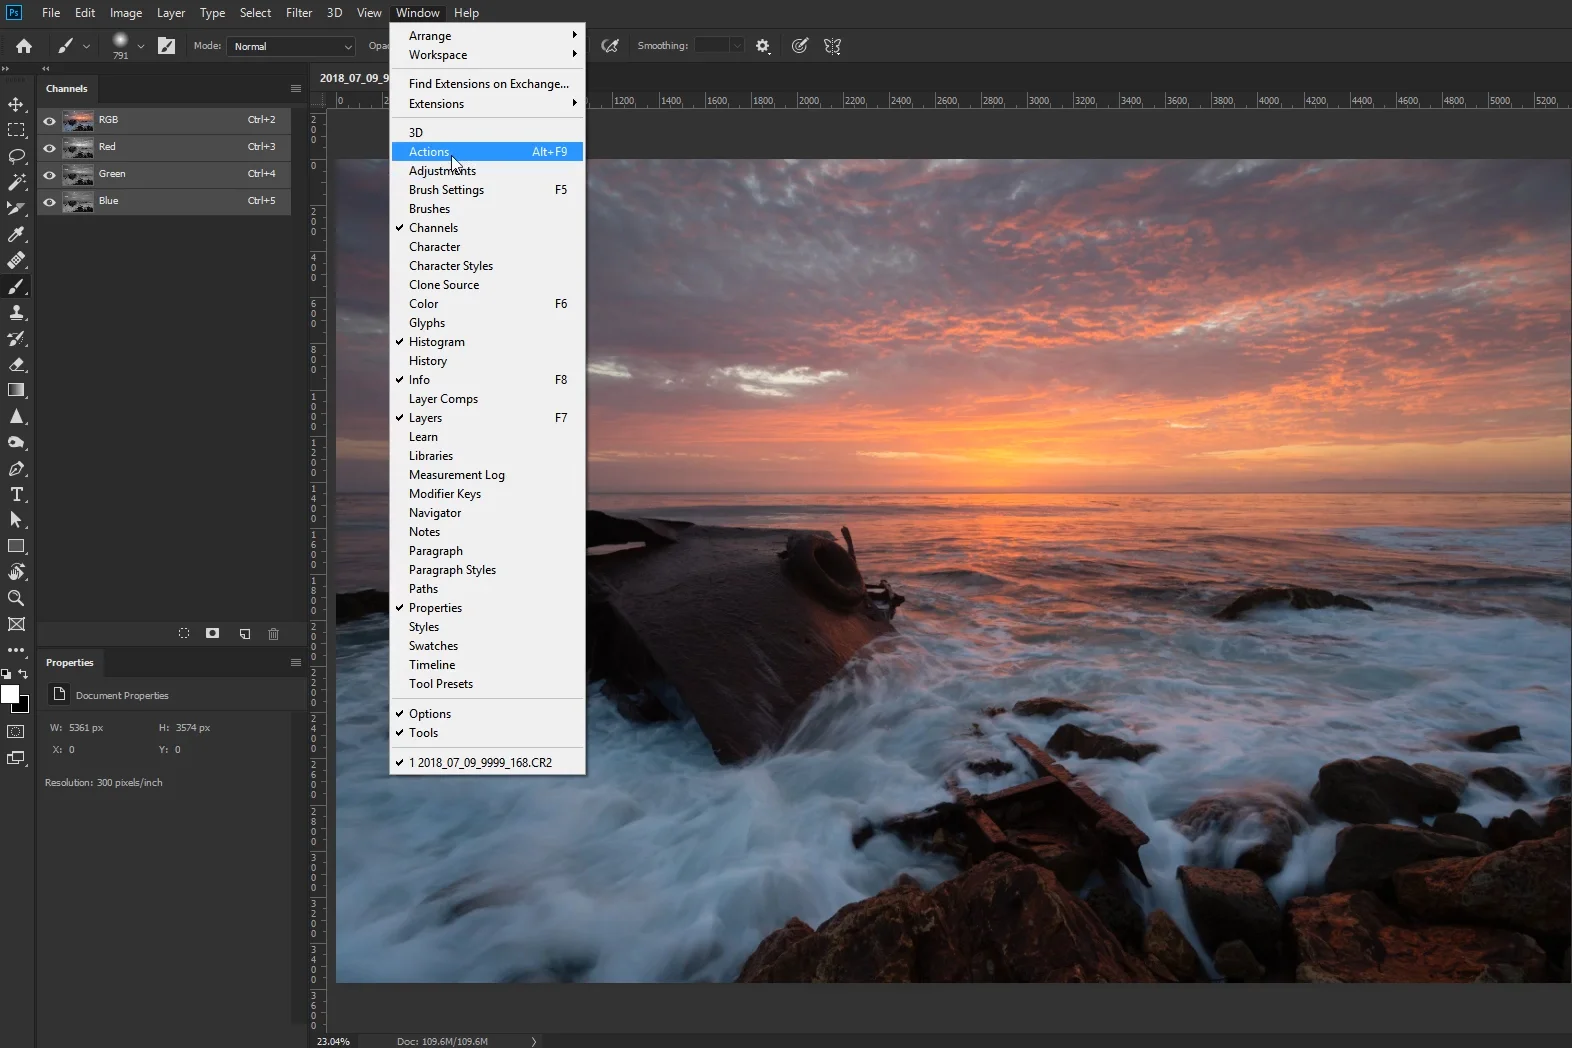
To create a masked based up on the colors in the image click on the RGB channel. You should now have all the channels selected since RGB is all the channels together. With the RGB channel selected we can make a selection by holding down CTRL (CMD on Mac) and clicking on the RGB Channel. If you’re doing it right you should see a box attached to your cursor. After clicking you should now see a selection made on your image, or “marching ants” as they are called. See the image below.

You should notice that the selection is not of 100% of the image, but is surrounding the brighter parts of your image only. This selection is the brighter luminance values in the image. With this selection made, we can create a mask of the selection by clicking the “Save Channel as Selection” button at the bottom of the channel panel. The button looks like a square with a circle in the middle. See image below.

Once clicked a new layer, or channel is created in the panel, called “Alpha 1”. This is our first luminosity mask of the 50% brightest parts of the image. Click on the Alpha 1 layer to see how the mask appears. It should look something like the image below, where the brightest parts of the image are white and darkest parts of the image are black.

Remember how a mask works, the whitest parts will be revealed more and darkest parts will be hidden. So if I were to use this mask, the layer that I am masking would only effect the brighter parts more than the darker parts.
If your mask has come out where the darkest are brightest then you must double-click on the quick mask tool, located just below the color selectors on the toolbar to the left. From the prompt that appears make sure that “Masked Areas” is selected and not “Selected Areas”. Hit ok and go back and try to make your first channel again.
The Alpha 1 channel, is our first luminosity mask and I rename it to Lights 1 as it is focused on the lighter parts of the image. We can create more masks by lessening this selection or by “intersecting” this selection. To do that you must have the Lights 1 mask selected, CTRL or CMD and click on Lights 1. Once selected hold down CTRL + Shift + Alt (CMD + Shift + Option on Mac) and click on the Lights 1 again (You should see a box with an X near your cursor if holding the right buttons). You should notice the selection change and be a smaller selection, but still focused on the lighter parts of the image. Save the new selection as a channel or mask and a new Alpha Channel should appear. Rename this to Lights 2 and click on it to see the new mask. See image below.

Notice how Lights 2 is a darker mask with less of the image masked, but still weighted to the lighter tones of the image? You can continue refining or lessening the mask using the same process and create Lights 3, 4, 5, 6, 7, etc. It’s up to you how many you create.
You can also create masks for the dark tones. Make a selection of your Lights 1 mask, CTRL or CMD and Click. Now invert that selection by holding CTRL or CMD with Shift, then hit the letter “i” while holding those. The selection should be inverted and the darks of the image are now selected. Save this selection as a mask and rename it to Darks 1. See the image below.

Now your have a mask that is more white in the dark parts of the image and less white in the brightest parts. You can again intersect or lessen your darks selection the same way we did for the lights. I usually make at least 5 masks for both lights and darks.
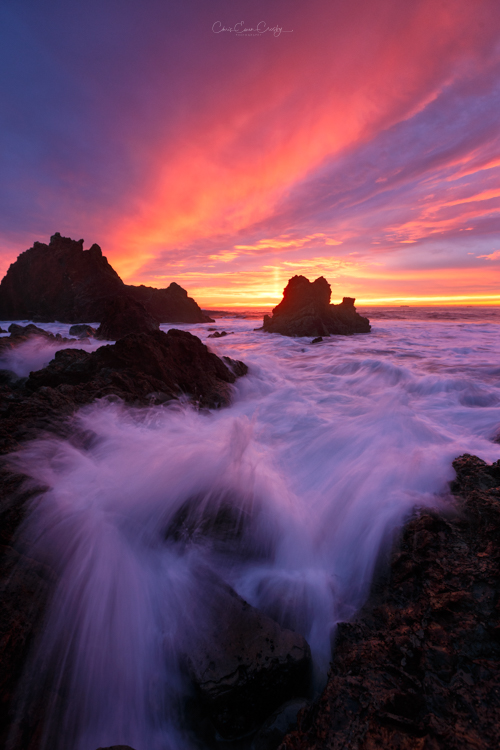
You can also make masks for the mid tones of an image as well. Create those by making Lights 1 your selection and intersect (CTRL + Shift + Alt or CMD + Shift + Option on Mac) Lights 1 with Darks 1. You should get a error message telling you that no pixels will be visible, just click OK. That message is telling you that you will not see any marching ants because the selection is so faint, trust that it is there. Now create a new mask and rename to Mids 1. You should now have a mask similar to what you see below.
Your Mids mask is a selection that doesn’t select the brightest or darkest tones of the image. Creating more mid tone masks is a bit different from Lights and Darks however. If you intersect or lessen the selection you’ll get a darker version of Mids 1. For brighter versions, hold CTRL or CMD and Shift while clicking on Mids 1 to add to the selection.
Once you’ve made all of your masks you should have Lights 1-5, Darks 1-5 and Mids 1-5, or whatever you chose. You can combine all these masks in many ways by intersecting, adding to, or subtracting from each other to create masks that target very specific tonal ranges, such as upper and low mids.
So by now you’re probably asking yourself, “all this mask creation for every image I edit?” Yes, but not manually! Let’s talk about how to automate the whole process so it takes just a few seconds to create all your masks.
How to make a photoshop action
A photoshop action is used to help automate most processes is photoshop. Essentially it records every change that you make, such as keystrokes or any layer change. Whatever you do while recording your action, photoshop will record and duplicate when the action is played again. So what I have done is created an action for making my luminosity masks. You can download mine and try one out by clicking HERE. If you’d like to create your own it’s really quite easy to learn and may help you down the road.
First, open your actions panel is photoshop, if you aren’t sure where it is, go to “Window” and make sure “Actions” is checked.
In the actions panel first create a new folder, rename it, I chose “LumMask.” Then with that new folder selected click create new action in the action panel and name the Action Luminosity Masks, then hit Record. You’ll notice now that a red record button is now illuminated at the bottom of the Actions panel, saying that it’s recording. If you aren’t quite ready, hit the square stop button. Once ready hit the record button again. You can stop or start recording as you chose.
Before you start recording make sure that you’re ready to make all your luminosity masks without making any extra keystrokes or errors. Extra keystrokes may increase the time to make the masks, but only a small amount. Once you’re ready to record, hit the record button and begin making your luminosity masks, just as we did earlier. Once you’ve made all of the masks hit the stop button and your action is complete.
Test your action by first deleting all of your channels. Then in the Action panel, click on the action your created inside the folder and hit the Play button. Photoshop should now create all of your masks quickly. If something didn’t come out right, you can delete or add steps to the action, or just try to record the action again.
If you aren’t getting it right you can always download my FREE ACTION. To install it, click on the box in the top right of the Action Panel and chose “load actions” Locate the action where it was saved and open it. A new folder called “LumMask” should appear in the actions panel. Expand the folder and click the “Luminosity Mask” action, then hit play. The action will create all of your luminosity mask for you.
Conclusion
Luminosity masks may seem a bit difficult to wrap your head around at first, but once you are able to create luminosity masks you can start to play with them and you’ll find that they are actually quite easy to use. The hard part comes with what types of layers you are going to use them with. Hopefully after reading this tutorial you have a better understanding of masks, luminosity masks, and how to create them. If you are trying to improve your editing, which I’m sure you are if you are reading this, then you need to learn about luminosity masks and need to learn how to use them. I’d love to hear your thoughts on this tutorial and answer any questions you might have. Please drop a comment or question in the comments below and share with someone who might find this useful.
If it’s hard for you to follow along while reading, try out a video version of this tutorial on YouTube.
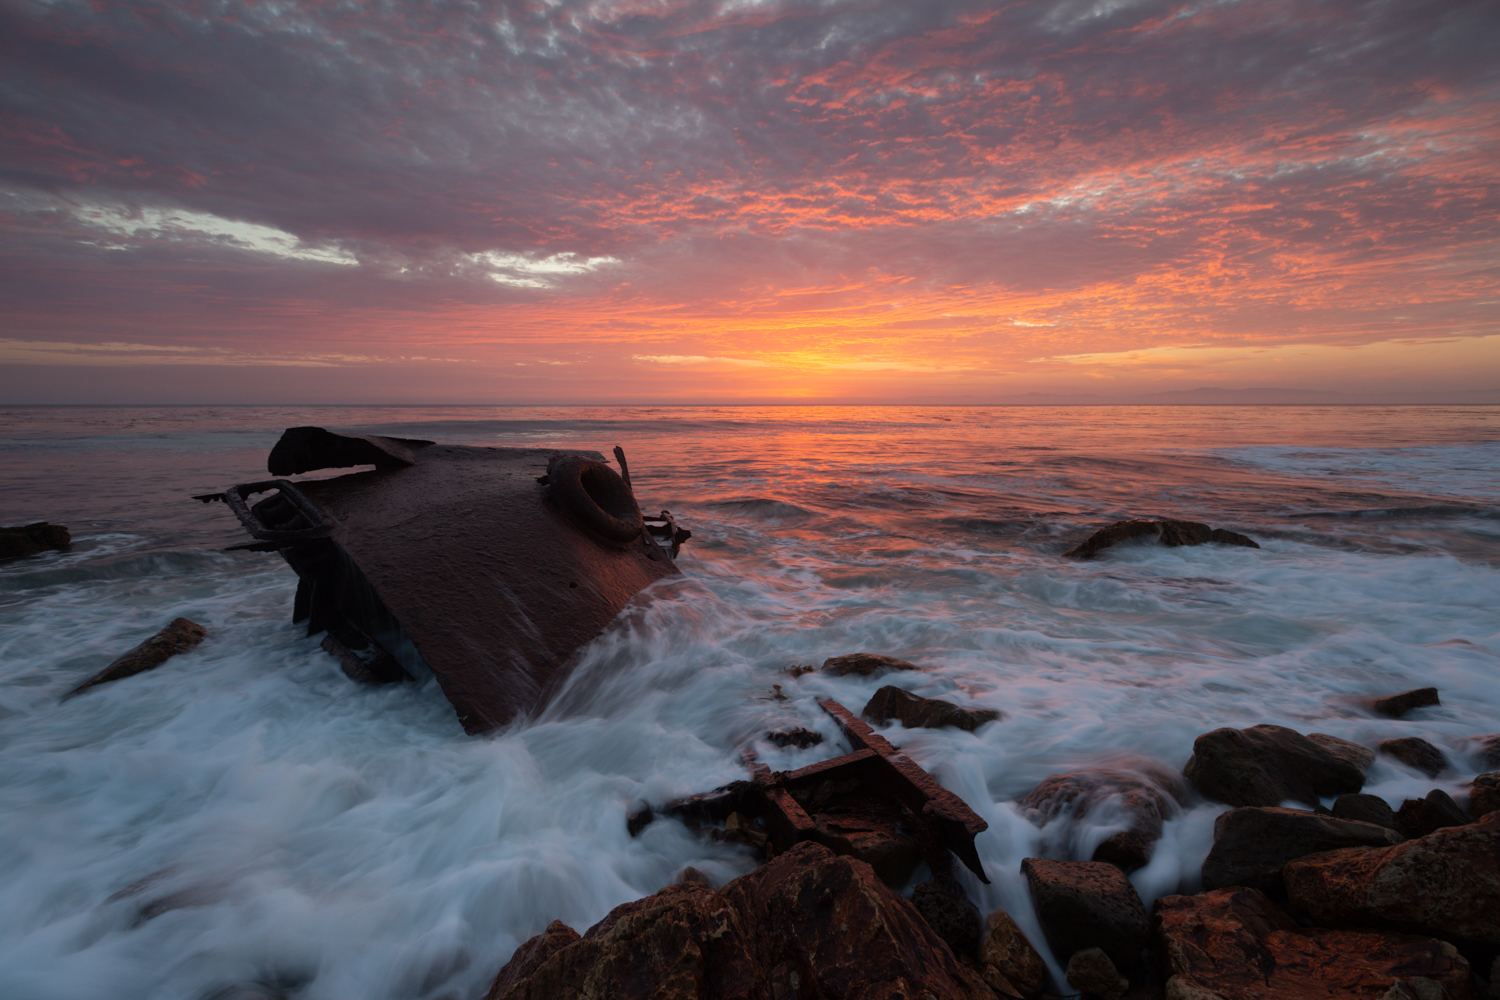
If you are looking for further instruction on the use of luminosity masks, I have full workflow tutorials and 1 on 1 training available on my website. In my latest tutorial I use the image from this article and edit from RAW to finished product. I demonstrate how I use luminosity masks in my workflow and many other techniques to bring your image to life. See a before and after of the full edit below.
SUNSET WORKFLOW TUTORIAL - Full Adobe Photoshop and Lightroom workflow


is a landscape photographer and educator from Southern California creating unique and powerful landscape images.
Instagram - @cecphotos
Facebook - @ceccaptures
500px - @ceccaptures
Flickr - @chrisewencrosby
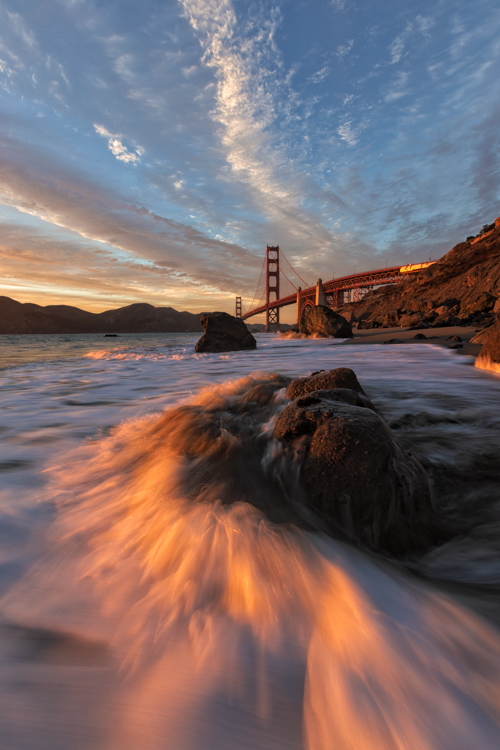
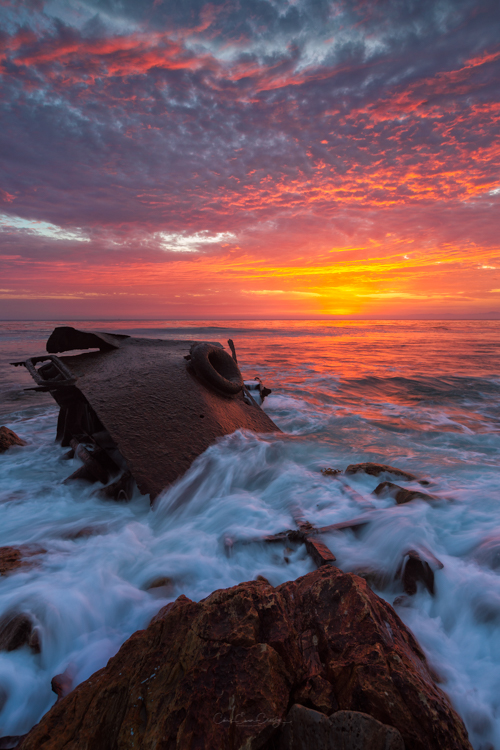
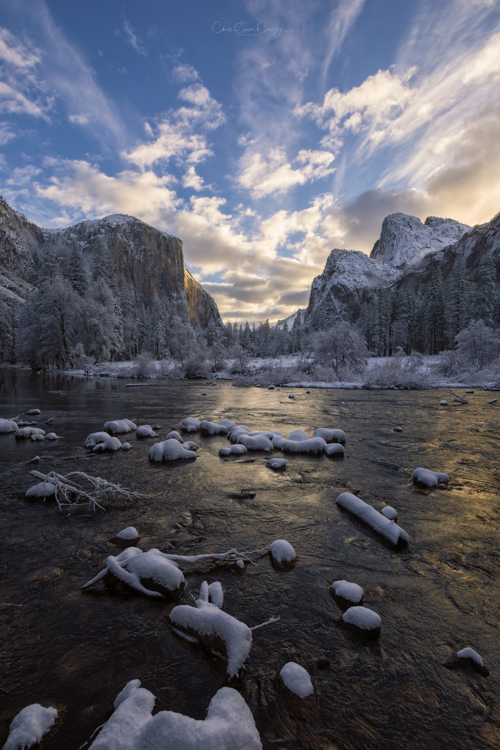
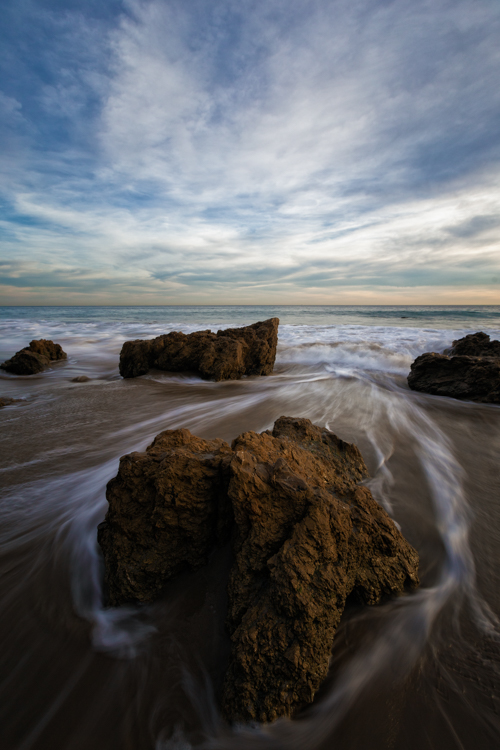
See a gallery below of images created using Luminosity Masks. All are images available for purchase in my shop, click an image to see about printing.